Don’t let managing recipients and fields slow your documents down.
When you’re trying to get a document out the door fast, adding and assigning fields can feel like running over a series of speed bumps. Good news: we’ve smoothed out the road with a new way to assign fields and manage recipients so you can deliver your documents at record speed.
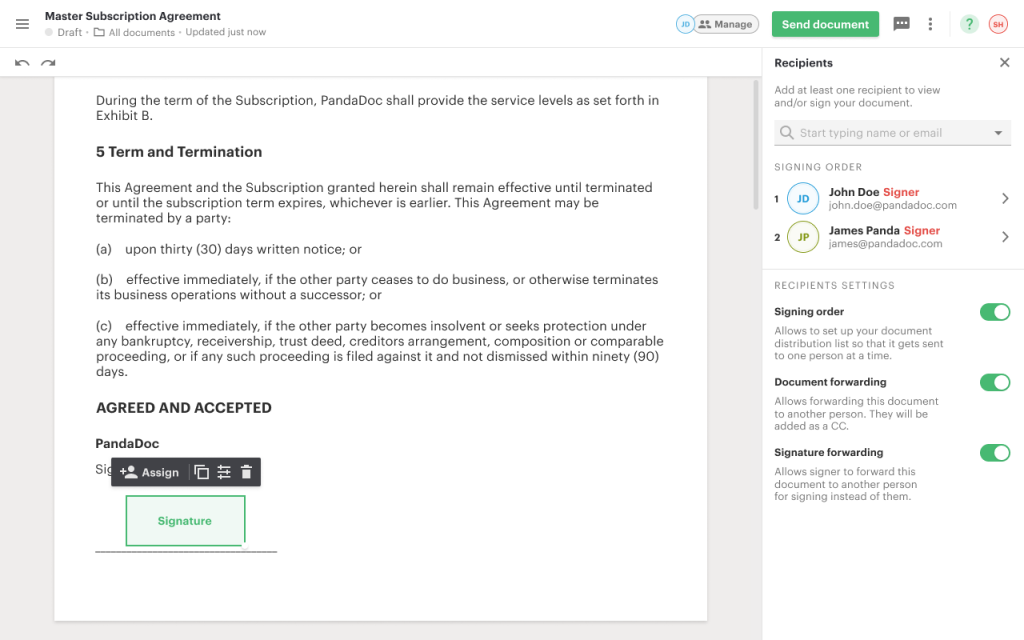
Instead of adding fields and clicking on them one by one to assign them, start by choosing the recipient first then adding all of the fields that person needs to fill out or sign. Once a recipient is selected, any fields added to the document will automatically be assigned to them.
More than one signer? Just select the appropriate recipient from the fillable fields dropdown menu and add their fields. Any assigned field will be color coded to match its designated signer so you can quickly review your document to ensure all fields are properly assigned.
If you need to change a field assignment, just click on the field and select the correct recipient from the dropdown menu. If the recipient has not been added to the document yet, you can add them here and assign the field to them in a single step!
You can also add or manage recipients by clicking on the “Manage” button in the app bar at the top of your doc. Use the toggles to set a designated signing order and enable document and signature forwarding.

When you’re ready to send your document, click “Send” and you’ll get one last chance to add or remove any recipients and update document settings.
With multiple ways to assign fields and manage recipients, a color coded display, and easy access to recipient settings like signing order, you can get your documents out the door faster than ever.