Between keeping up with the market and ensuring that you have the right tools and systems to succeed, professionals are now faced with more challenges than before when it comes to growing and scaling their businesses.
Documents shouldn’t be one of those challenges.
This article will show you best practices for maintaining quality and control over your business documents inside PandaDoc.
Anatomy of a document
Get familiar with the key parts of a PandaDoc document:
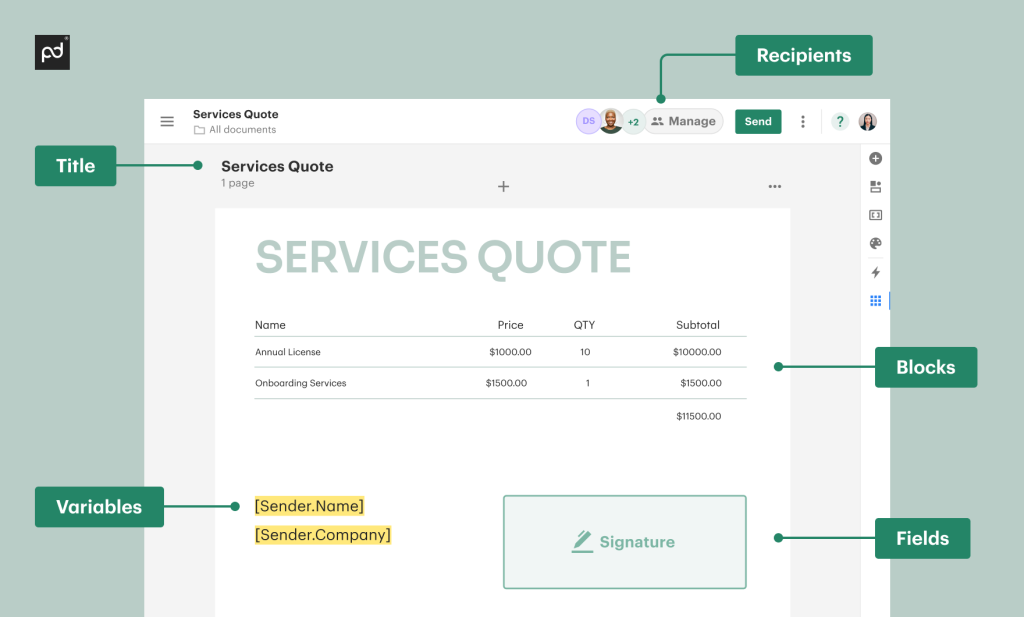
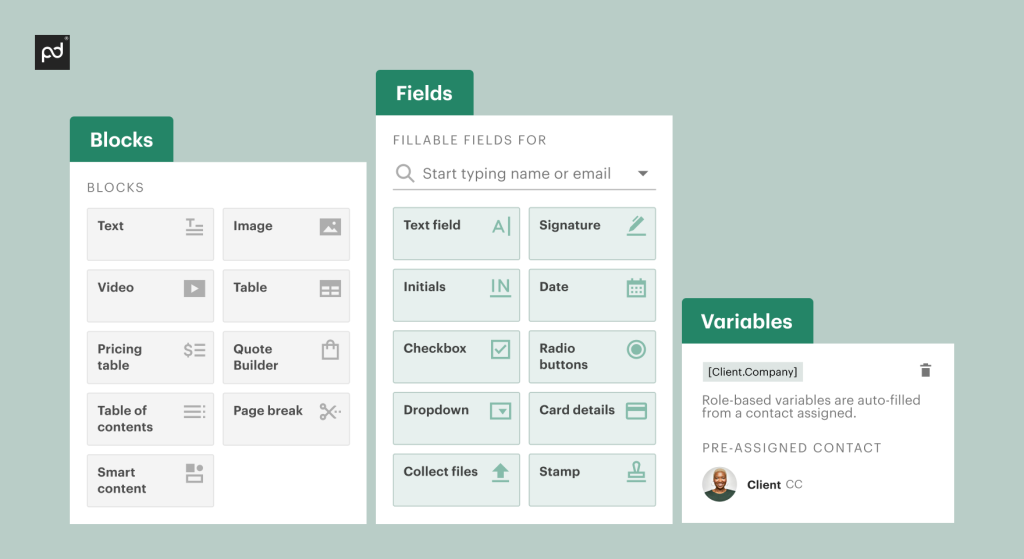
– Blocks
Blocks are all the pieces of content that make up your template.
– Fields
Fields are places you designate for a recipient to enter in some information.
– Roles
Roles are placeholders that will help you pre-assign Fields to future recipients. Additionally, you can easily populate information about your recipient into the document using variables associated with a Role.
– Variables
Variables are placeholders in a template that are easily filled in when a document is created. They can be associated with a Role, pull in information from a database or CRM, or simply act as a reminder to fill something in.
Get more familiar with Blocks, Fields, Roles and Variables:
Creating a document
There are two ways to create a document in PandaDoc:
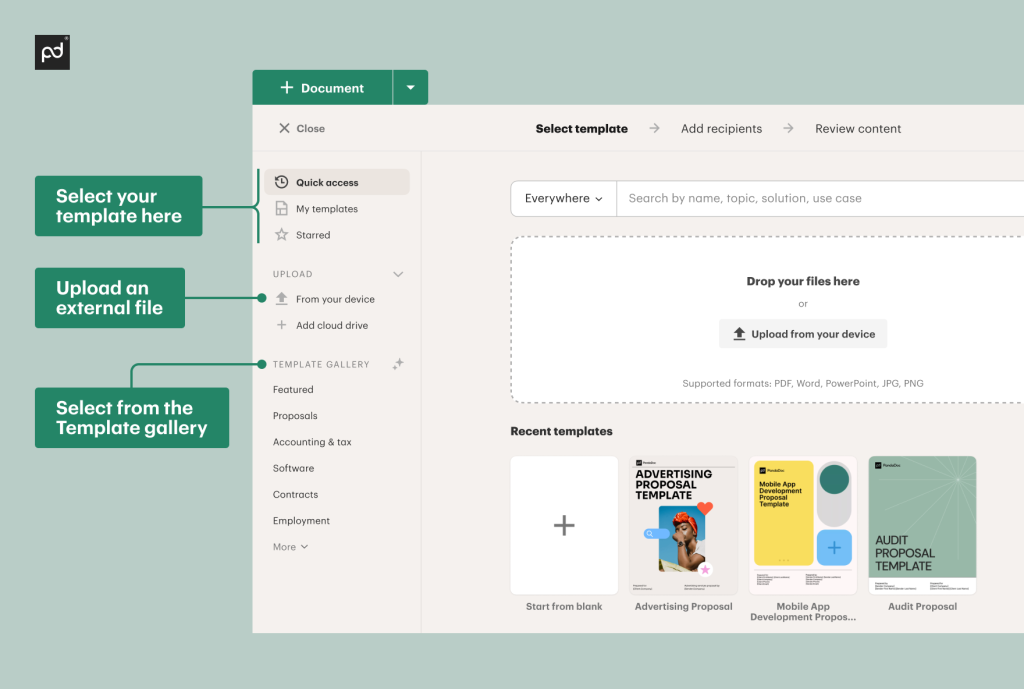
1. Create a document from a template
To create your document from a template, you’ll simply click the ‘+Document’ button in the top menu bar to get started.
Then select ‘Document’. If you have a CRM integrated, you can also launch a template from inside the CRM.
2. Upload an external file to create a document
If you have a PDF, Word doc, or other source file type you’ll be starting from, you can upload it easily after clicking the ‘+New’ button.
Customizing a document
After you’ve created your document from a template or uploaded external file, you can customize it in the following ways as needed:
– Add new blocks or fields
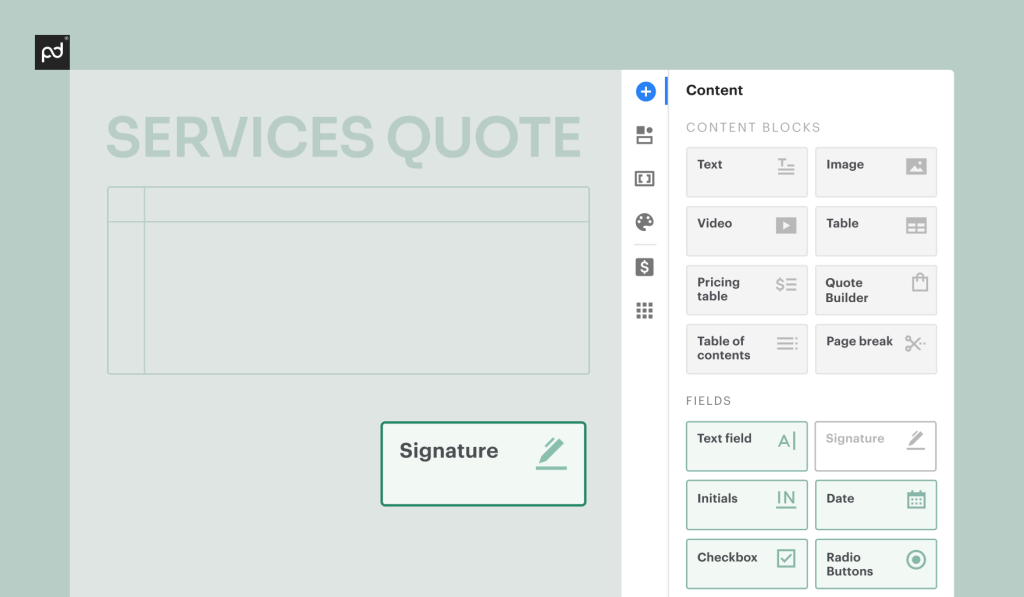
It’s easy to add more blocks and fields if you need to. Just drag and drop.
– Fill or change text in variables
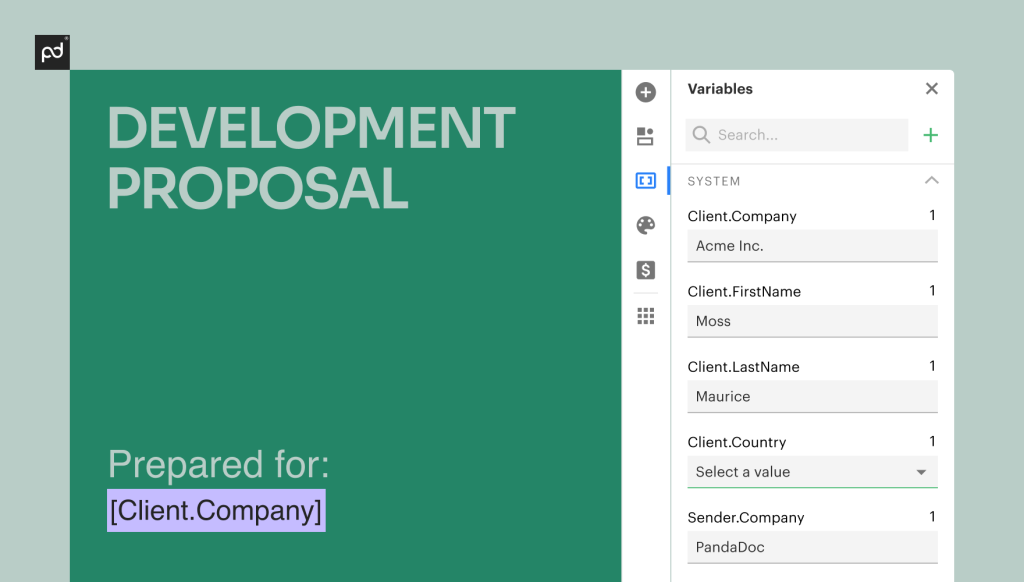
Make sure all your Variables are filled in correctly at a glance in the sidebar.
We’ll stop you with a pop-up if you try to send your document with empty Variables so you can make sure they are filled in before you send it.
– Format text
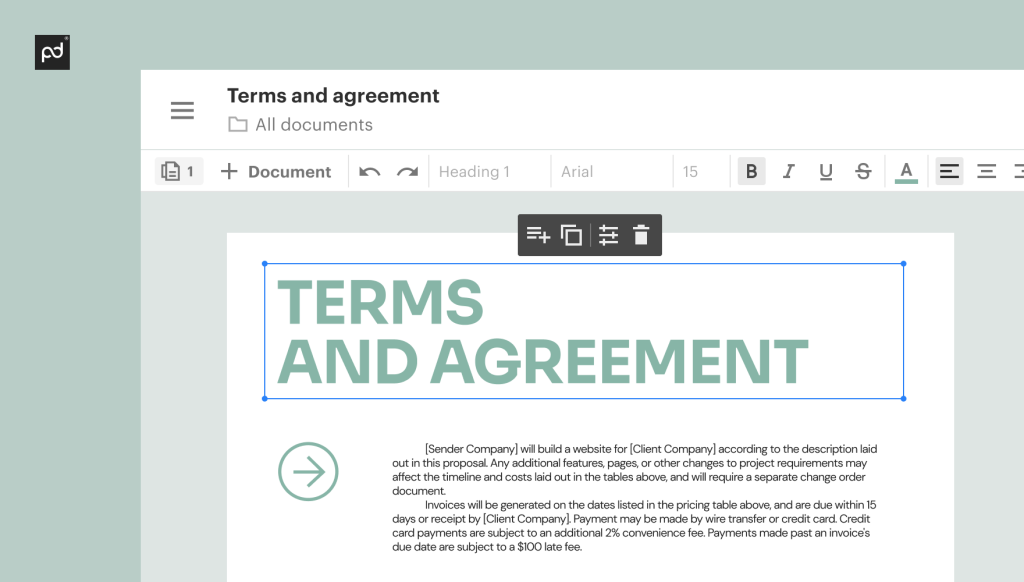
Change font styles, sizes, colors, alignment, spacing, and more from the top formatting bar that pops up when you click into a text block.
– Finalize the Pricing Table
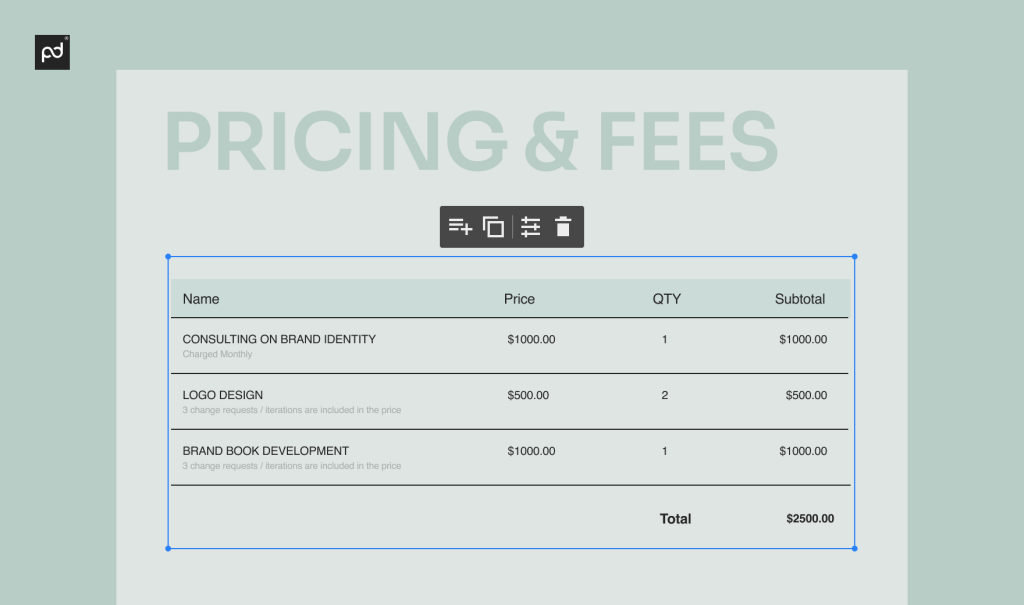
You can quickly adjust products, pricing, quantities, discounts, and more as needed in the Pricing Table.
– Add from the Content Library
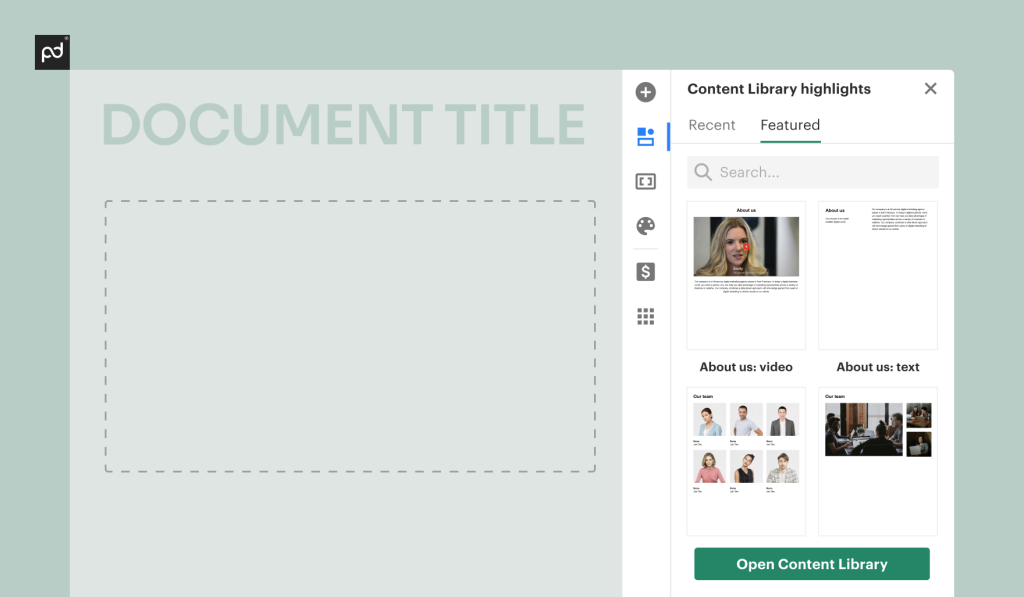
Add pre-created content from your Content Library in a few clicks.
– Add + attach external files
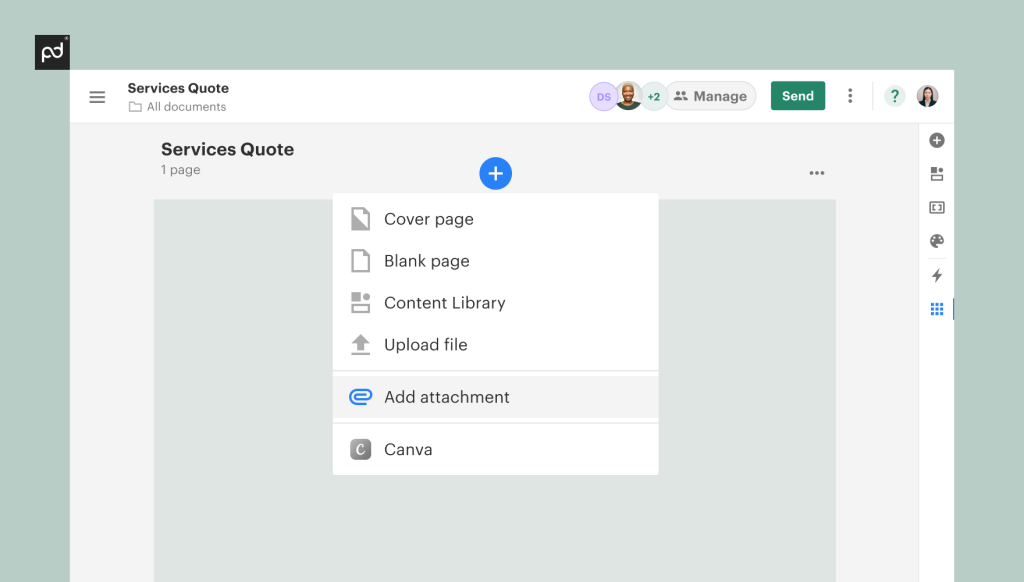
Have an external file you want to add to the document? No problem! Select Upload File to add it seamlessly as extra pages to your document. Select Add Attachment* to add your file as a clickable link that can be downloaded and viewed separately.
*Add Attachment not available on all plans
– Reassign existing fields
Change of plans? No worries, it’s easy to reassign fields in just two clicks.
– Replace images
Swapping out images is easy. You can choose one from your Image Library or upload from your device.
– Check the title
Make sure the title of your document is specific to your recipient so it will be easy to tell it apart from your other documents.
Sending a document
Before you send your document, you’ll want to make sure the following settings are to your preference:
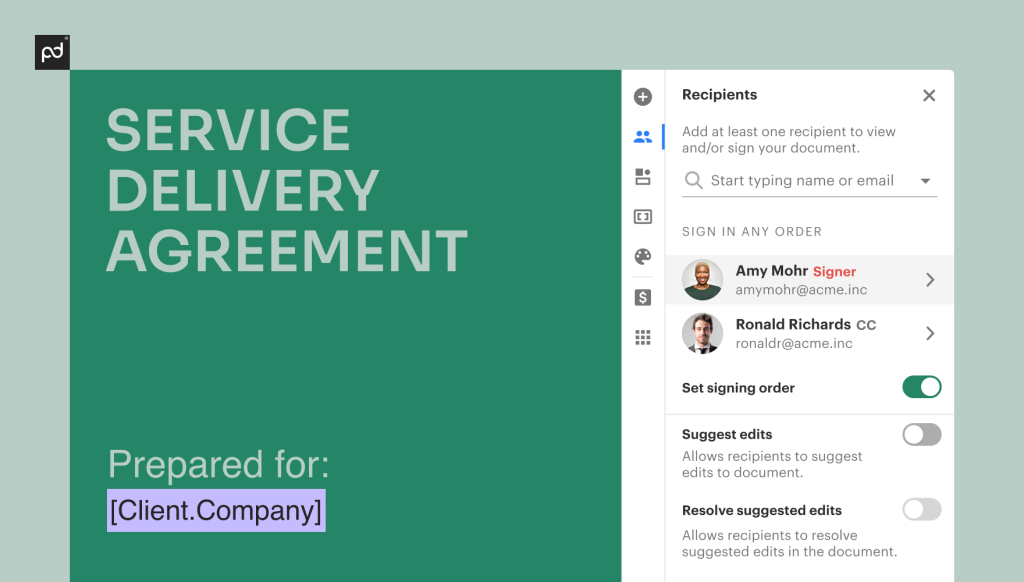
1. Add recipients
You can add recipients at any time before you send. Anyone who doesn’t have assigned fields to complete will simply be cc’d.
2. Set Signing Order
Toggling on Signing Order gives you control over the order a document goes out to each recipient. Put cc’d recipients at the end if they only need to know about completed documents or put them in the beginning if you want them to get the document at the same time as the first signer.
3. Set Document + Signature Forwarding
Turning on Document Forwarding allows your recipients to add other recipients. You’ll be notified when this happens and the new recipient will be added to the list that’s viewable by all.
Turning on Signature Forwarding allows your recipient to reassign their signature field to a new recipient. This can save you time and hassle.

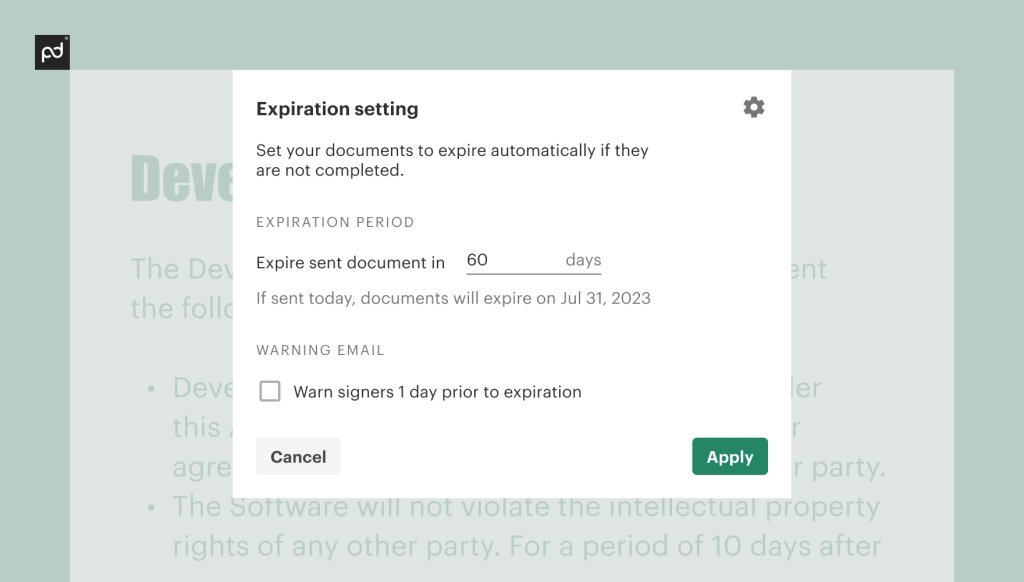
4. Set Expiration
Setting expirations on a document can incentivize your recipients to complete their fields in a timely fashion and helps you enforce any conditions or promotions that are time-bound.
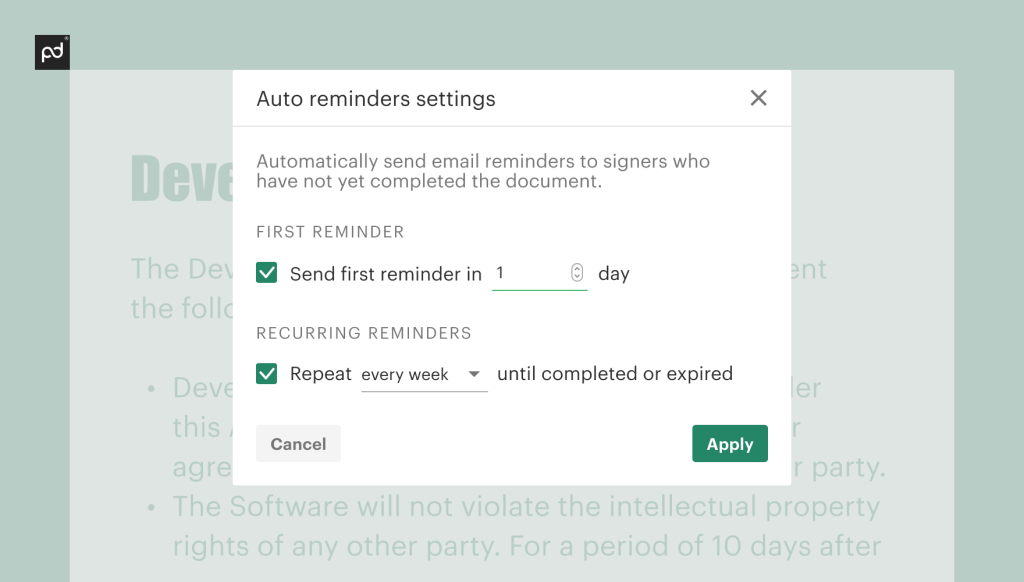
5. Set Auto Reminders
Auto Reminders help you stay on top of outstanding docs without needing to lift a finger.
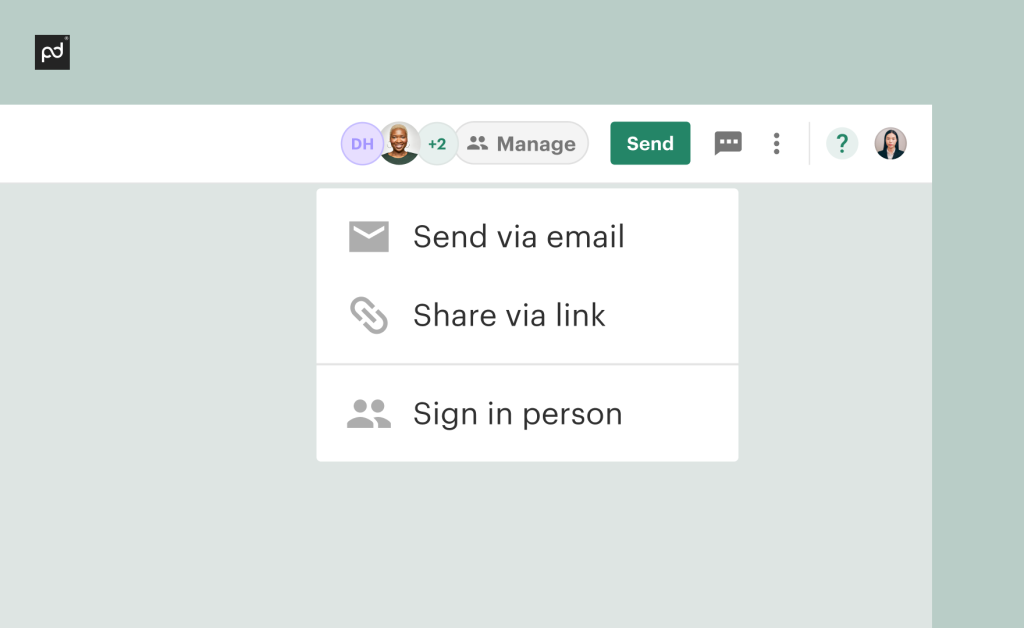
6. Choose your Sending method
Sending via Email is recommended since it’s the easiest and most secure method, but you have the option to Share via Link that you can copy and paste into an email or text. Signing in person* is also a great option when needed.
Getting documents completed
We have features designed to help you get documents signed faster:
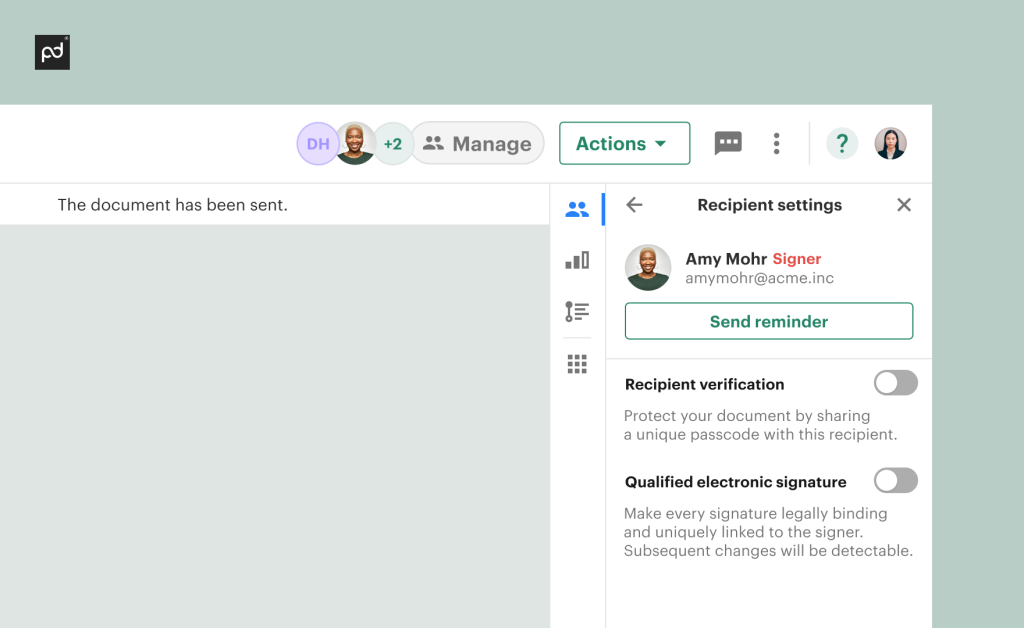
– Send a Manual Reminder
You can send a Manual Reminder to a particular recipient at any time in addition to or instead of Auto Reminders.
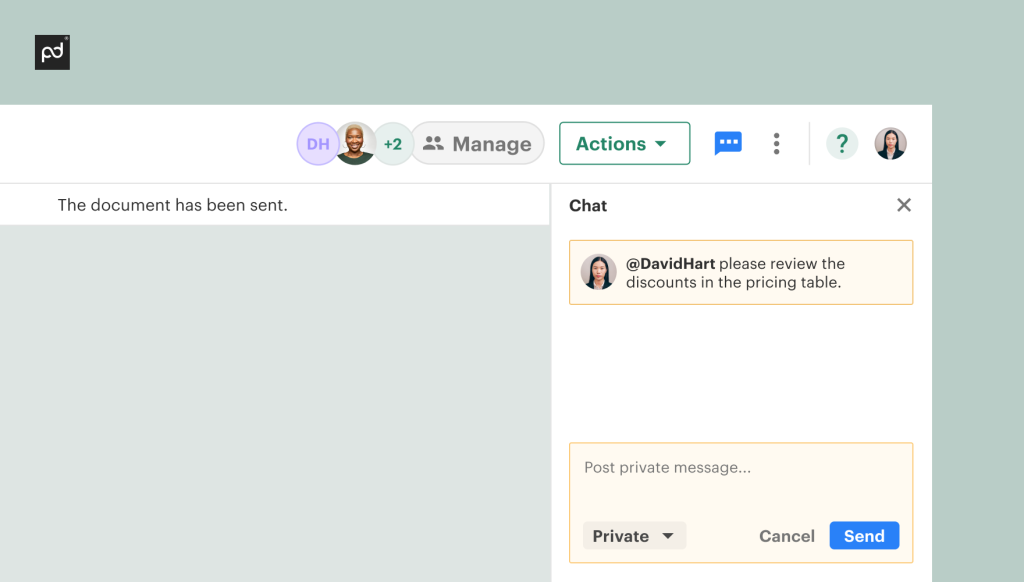
– Chat with your recipient
Make the reminder more personal by sending a Chat with a message instead of a generic reminder. Your recipient will receive an email with your message and link to the document. They can reply to your Chat and you’ll be notified as well.
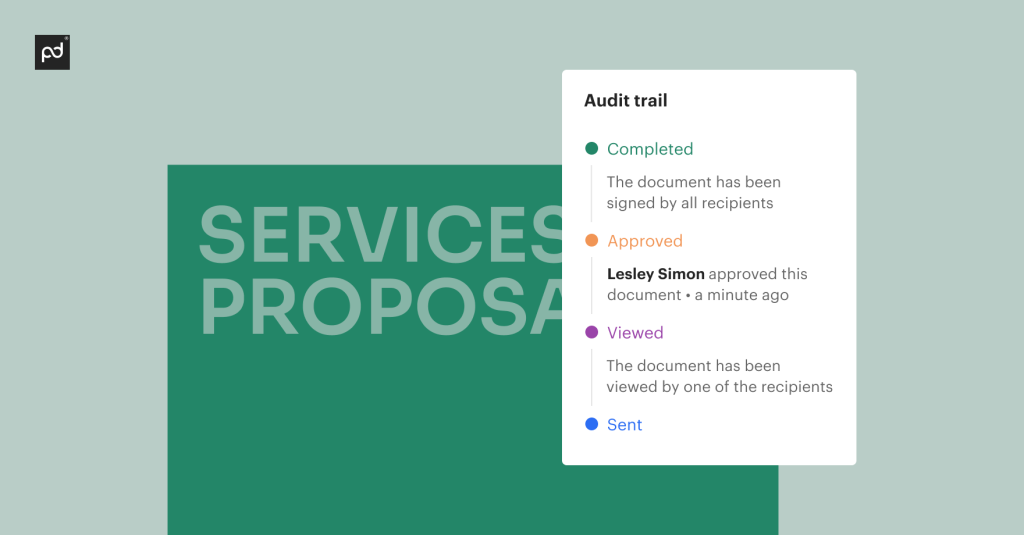
– Use the Audit Trail
See the history of a document’s changes in real-time from the Audit Trail.
– Check the Analytics
The Analytics go even deeper! Here you can see activity for each recipient and each page. This helps you know when it might be the right time to send a Reminder or Chat.

Keeping track of your documents
Keep track of all your documents from Draft to Finished on the Home page and keep them organized in the Documents Tab.
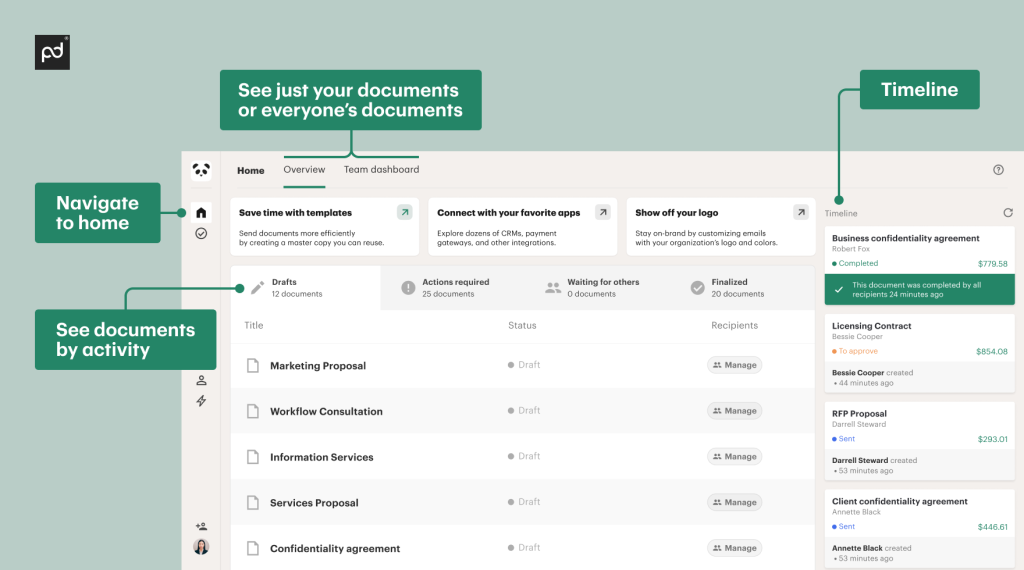
– Home
The Home page lets you see the status of documents at a glance and keeps you up to date with the live Timeline sidebar.
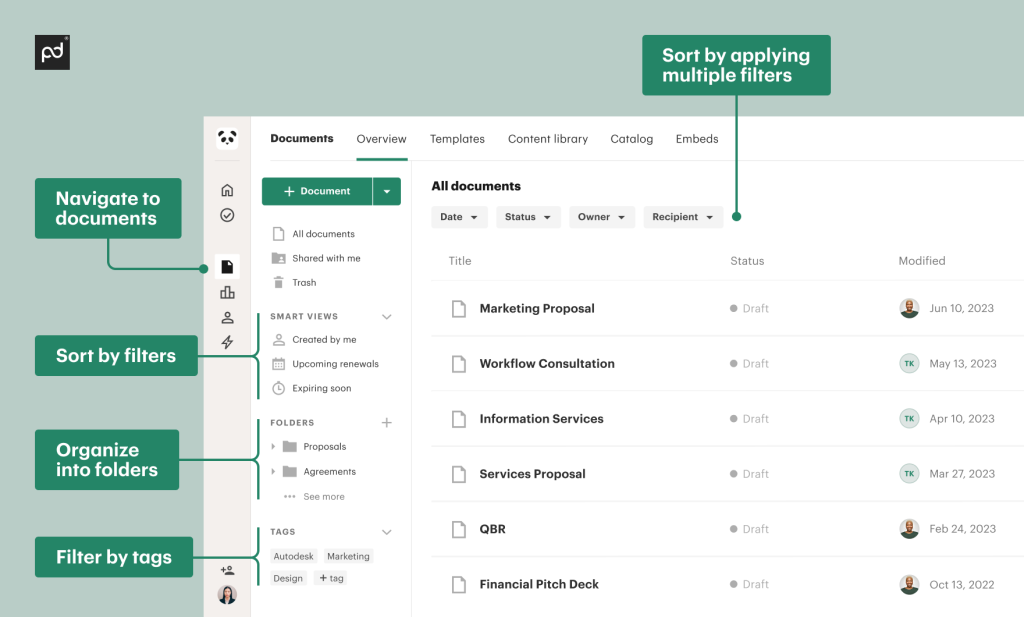
– Documents Tab
The Documents Tab makes it easy to organize and locate documents using folders, tags, and filters.
Conclusion & next steps
As your work continues to evolve, we recommend you revisit your document workflows regularly to maximize your usage of PandaDoc.
We encourage you to continue your learning journey through the PandaDoc Learning Academy courses and office hours.