


Document Sharing
Simple, secure document sharing for growing teams
Share sensitive information with confidence. Use secure links, enhanced access controls, and detailed activity logs to protect privacy through every step of the document lifecycle.
No credit card required

Trusted by 68,000+ companies for fast, secure document sharing
"PandaDoc will allow us to work quickly through our high volume of incoming leads. And, with a 100% remote workforce, the ability to create, edit, and manage documents virtually will allow us to maintain business continuity throughout our operations."
Read full story
- more documents sent per month
- 25%
- faster to get a signature compared to Docusign
- 46x
- reduction in time spent creating documents
- 95%
What is document sharing software?
Document sharing software allows users to securely send digital files while maintaining control over who can view, download, or comment on them. Rather than email attachments that quickly become outdated, sharing solutions store a master copy accessible via secure links, ensuring that everyone sees the latest version.
With PandaDoc, teams and stakeholders access documents through encrypted links to collaborate in real time. Access controls, document analytics, and audit trails provide complete visibility into every change and interaction as the document evolves.
Why businesses choose PandaDoc for sharing documents
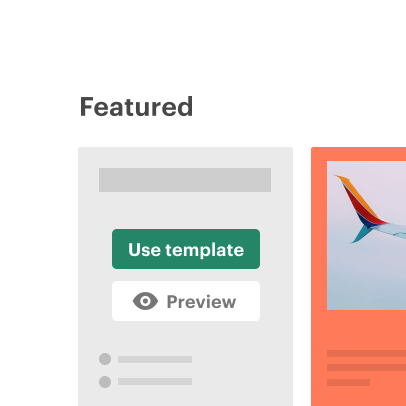
Quickly create proposals with templates and editing tools
Build polished proposals in minutes using pre-designed templates and a drag-and-drop editor that anyone can use.

Close more deals with engaging, interactive proposals
Use videos, pricing tables, and real-time tracking to make proposals more engaging and actionable so that sales cycles move faster.
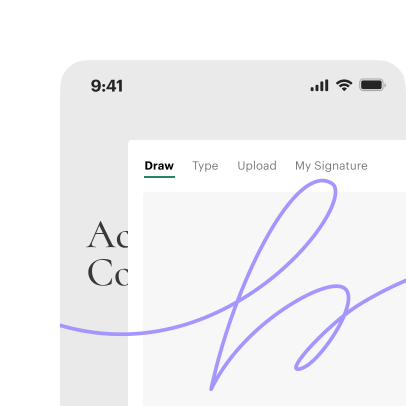
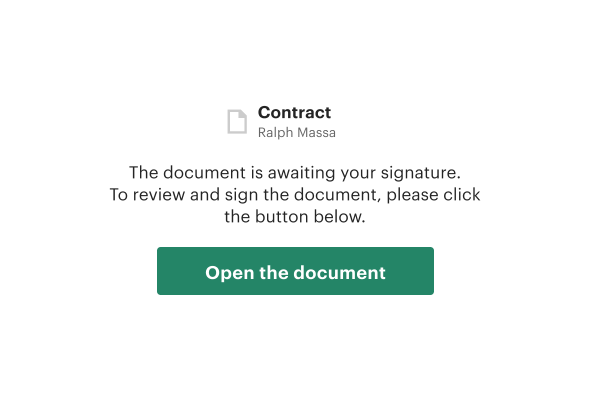
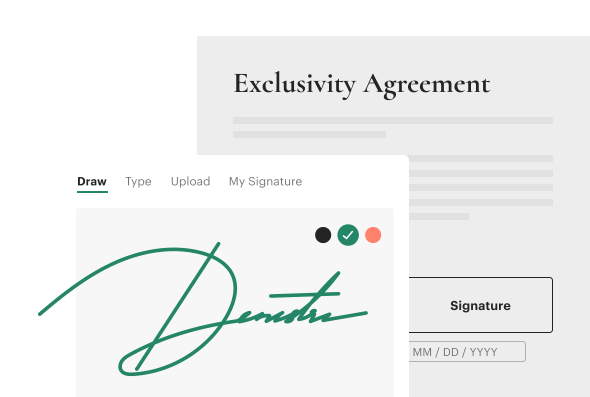
Securely sign and approve without switching platforms
Utilize built-in e-signature functionality for shared documents so that teams and clients can sign quickly and keep deals on track.
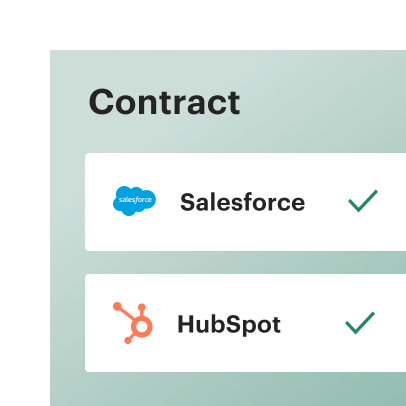
Connect proposals directly to Salesforce and HubSpot
Sync proposal activity with your CRM to reduce manual tasks, stay organized, and manage deals more efficiently in one connected process.
Features that make sharing and collaborating easy
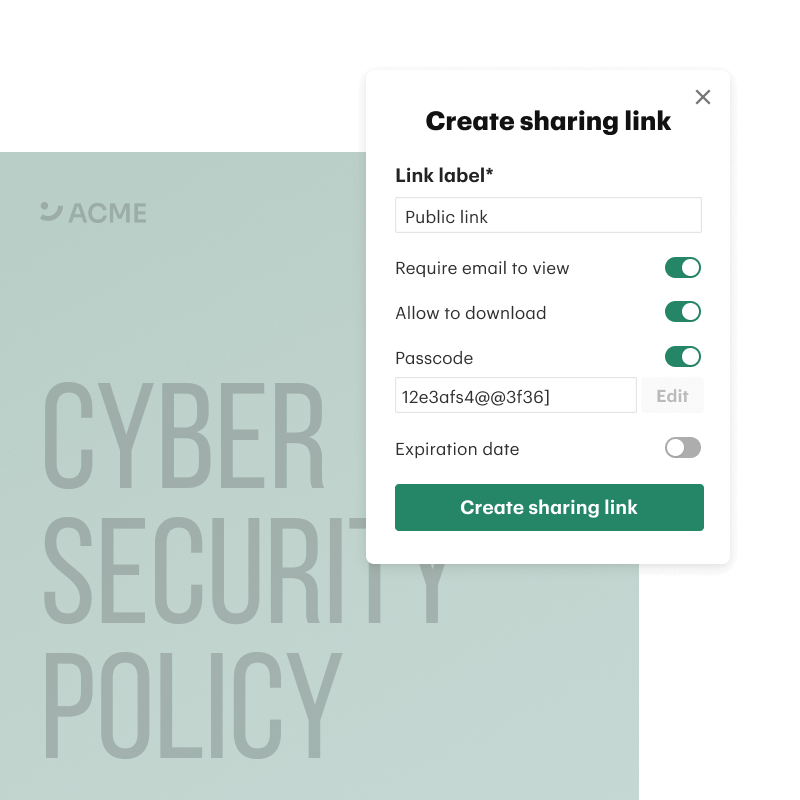
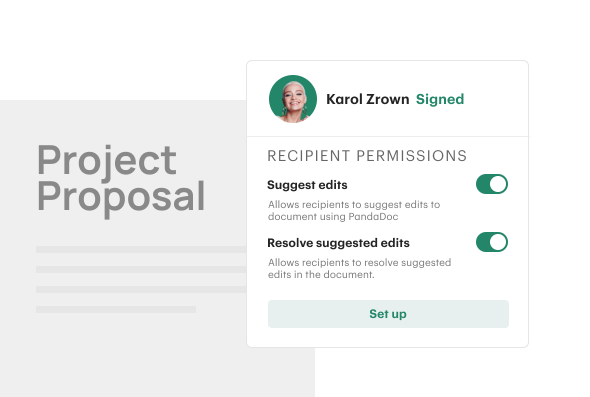
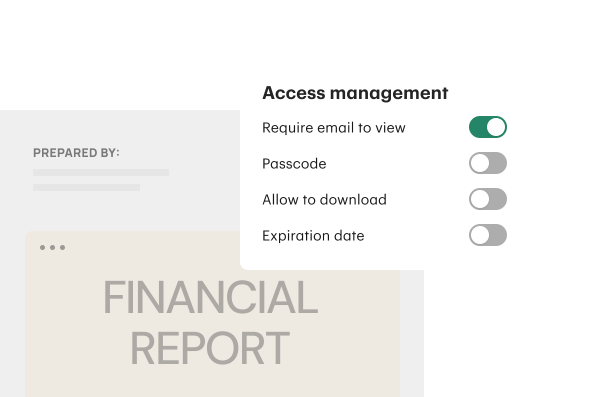
Control who can view, comment on, or edit documents
Set and maintain strict permissions around user access to ensure that documents stay protected. Designate users as recipients or collaborators, and manage what each person can see and what actions they can take when modifying the document.
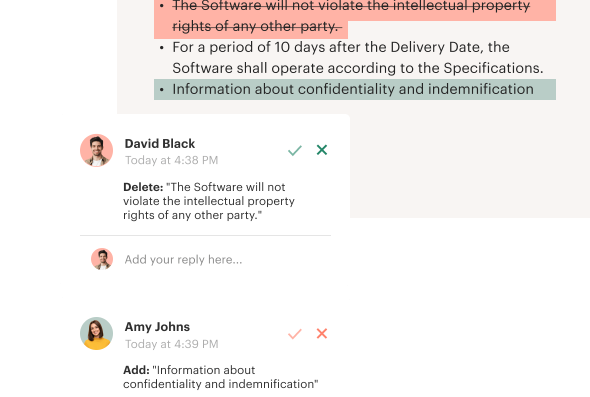
Keep all comments and edits tied to a single document
PandaDoc makes it easy to consolidate feedback, edits, and multiple versions of critical documents. Signers and collaborators navigate to an always-live version of the document so very user is on the same page, and the document is always current.
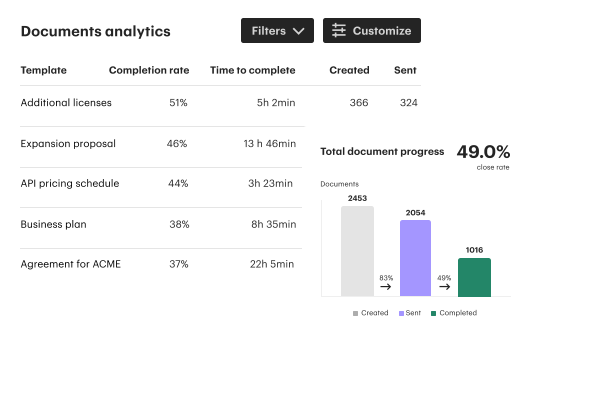
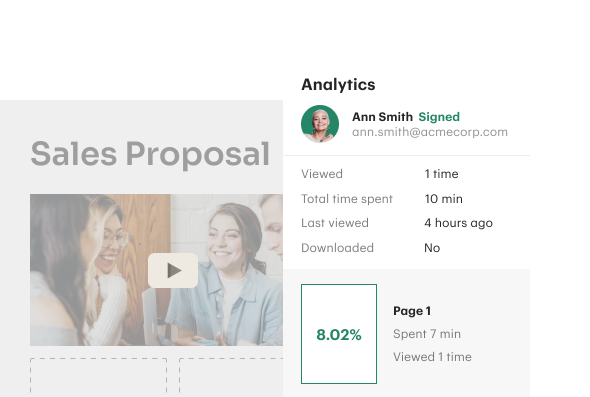
Track views and interactions with real-time insights
Know exactly when a document is opened, how long each page was viewed, and what content users engage with the most. Use those insights to plan follow-ups when proposals are top-of-mind to keep deals moving.
Add expirations and reminders for shared documents
In busy environments, it’s easy for documents to become lost or overlooked. PandaDoc’s built-in reminders help to prevent proposals and contracts from lingering. Add expirations and notifications to make sure that recipients take timely action.
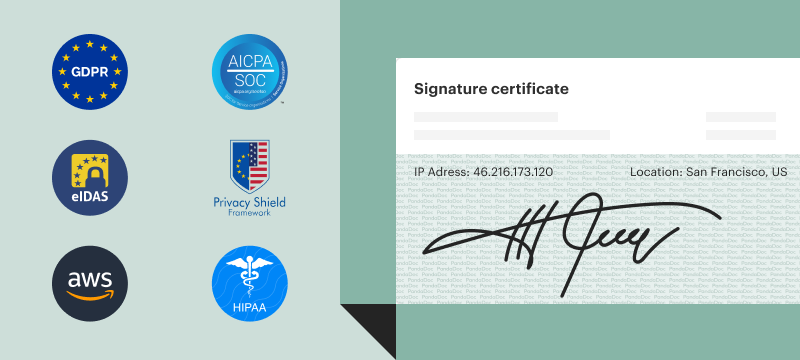
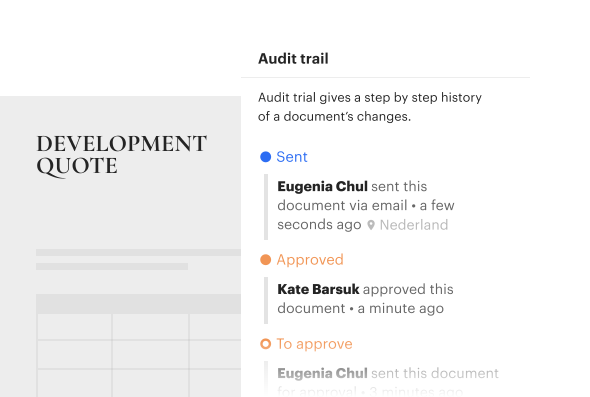
Maintain security and compliance with detailed audit tracking
PandaDoc tracks every view, comment, and signature and records them all in a live audit trail. Teams can monitor accountability, uncover hidden document stakeholders, and prevent unwanted changes while maintaining complete transparency.
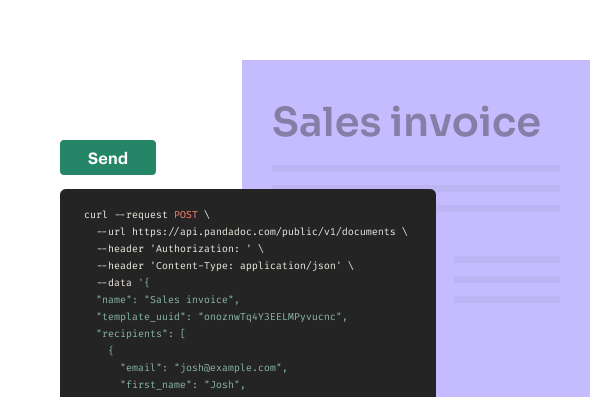
Build document sharing into your tech stack with PandaDoc API
Generate, send, and sign thousands of documents automatically using fast, flexible API tools that scale with your document output.
- Automate document creation at scale.
- Trigger sending and e-signing via API calls.
- Customize templates with variables and dynamic data.
- Integrate seamlessly with your CRM and other tools.
For every document your business handles
Send secure, trackable, and signable documents
Every contract should be accurate, secure, and accessible to all stakeholders and teams. With PandaDoc, you can send any agreement via a secure link while managing roles and monitoring engagement to ensure fast, trackable signatures.
Deliver professional proposals with real-time tracking
Share dynamic proposals that impress and convert with embedded videos, images, and crystal clear pricing tables. Then get notified of recipient activity to know when interest is fully piqued so you can follow up and keep deals moving fast.
Securely share policies, plans, and internal memos
Share internal collateral like HR policies, financial reports, and project plans without creating compliance issues. Teams can even control who can view and edit content, set expiration dates, and keep a full audit trail for internal accountability.
Businesses share smarter with PandaDoc
Thousands of companies around the world use PandaDoc to quickly create and securely share essential business documents.
Learn how to make document sharing even easier


Frequently asked questions
How secure is PandaDoc for sharing sensitive documents?
PandaDoc uses encrypted links, secure cloud storage, and role-based access controls to ensure that only authorized recipients can view your documents. You can also set expiration dates, restrict downloads, and access full audit logs to maintain compliance and protect sensitive information.
Do I need to upload documents, or can I create them in PandaDoc?
Both! Upload existing PDFs or Word files to share securely, or use the drag-and-drop editor to build new documents by modifying pre-built templates from our template library. Either way, your documents stay centralized and secure.
What happens if someone forwards my document link?
This depends on your security settings. If you’ve generated unique sharing links, and recipients forward that link, unknown users may access your document through that channel. However, PandaDoc also offers password protection and identity verification, allowing you to add additional access security for sensitive documents.
Can I track when users open and interact with my document?
Definitely. PandaDoc provides real-time analytics showing who opened your document, how long they spent on each page, and whether they took actions like commenting or signing. These insights can help teams follow up more effectively and quickly identify key decision-makers.
How does PandaDoc keep everyone working from the same version of a document?
Easy! We only maintain one “master” version of the document (along with a trackable version history). Rather than having multiple email attachments and conflicting edits, every user works from a single, live version. This eliminates confusion and ensures that feedback, approval, and final changes happen in one place.
Share documents the smarter way with PandaDoc
Get personalized 1:1 demo with our product specialist.
- Tailored to your needs
- Answers all your questions
- No commitment to buy
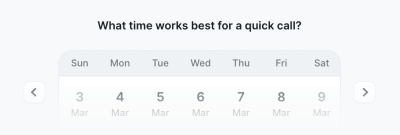
Schedule your free live demo
- Fill out the form
- Book a time slot
- Attend a demo
By submitting this form, I agree that the Terms of Service and Privacy Notice will govern the use of services I receive and personal data I provide respectively.