
How to sign a document sent by email
Want to know how to sign a document sent by email?
Easy: you download it!
Then, print it and sign it, scan the doc, and email it back to the original sender.
Well, that’s the traditional method.
Nowadays, there are lots of modern alternatives to doing it the old-fashioned way (with e-signatures being an obvious one).
In today’s world, email is one of the primary ways to get business done.
One important aspect of this is sending out documents for collaboration.
Sales contracts, agreements, and so on often need to be looked over and signed off by other parties or departments.
An email is a pretty standard channel to ask for a signature.
In this article, we will explore some quick ways to sign documents sent via email, covering the following points:
- How to sign emailed documents: Best methods
- How to sign a document sent by email using PandaDoc
- How to sign a document sent by email on an iPhone
- Why PandaDoc’s electronic signature software is the most efficient way to sign emailed documents
Let’s begin.
How to sign emailed documents: Best methods
There are several methods for signing emailed documents.
One of these is the pen, paper, printer, and scanner method mentioned above.
Alternatively, you can add a photo of your signature to Google or Word documents.
These are known as electronic signatures, but they lack the encryption and security features of their digital counterparts.
This means that image-based electronic signatures aren’t the best option to safely email documents you’ve signed.
The truth is that there are better, more secure, and smarterways to sign emailed docs.
Plug-ins, for example, allow you to sign in platforms like Gmail or Microsoft Office. Document management software is another option.
For instance, the electronic signature software from PandaDoc speeds up deals and collaboration with the seamless incorporation of eSignatures.
These ensure that your data is secure, are legally binding, and are ESIGN, UETA, and HIPAA compliant.
How to sign a document sent by email using PandaDoc
This is relatively simple.
PandaDoc software offers a trial that allows you to try out electronic and digital signatures risk-free.
Here’s a step-by-step guide to signing a document sent by email in PandaDoc:
1. Log into your PandaDoc account.

2. Select the ‘Upload’ tab and locate the file that you wish to sign. It will upload to PandaDoc and be viewable through the interface.
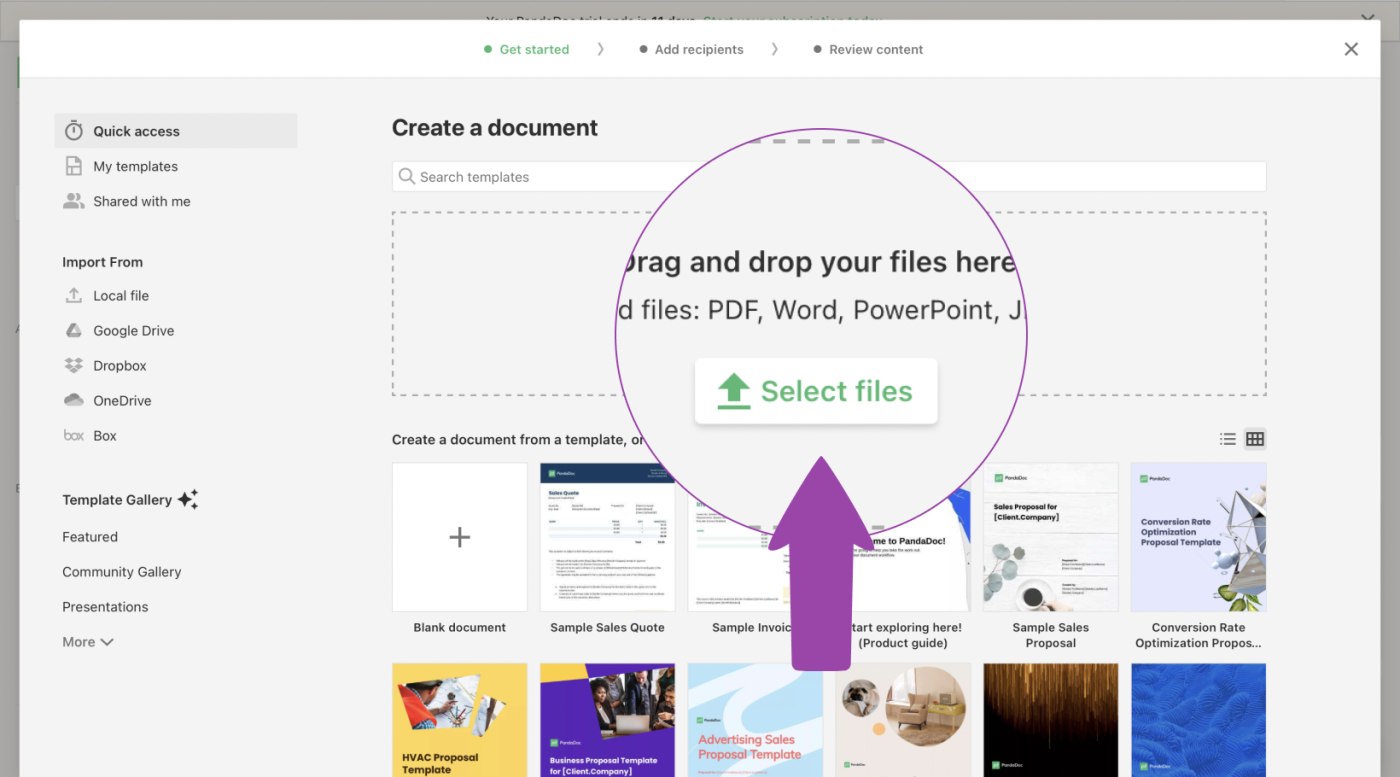
3. If you do not wish to edit any of the text in the document, click the ‘Display As Is’ option.
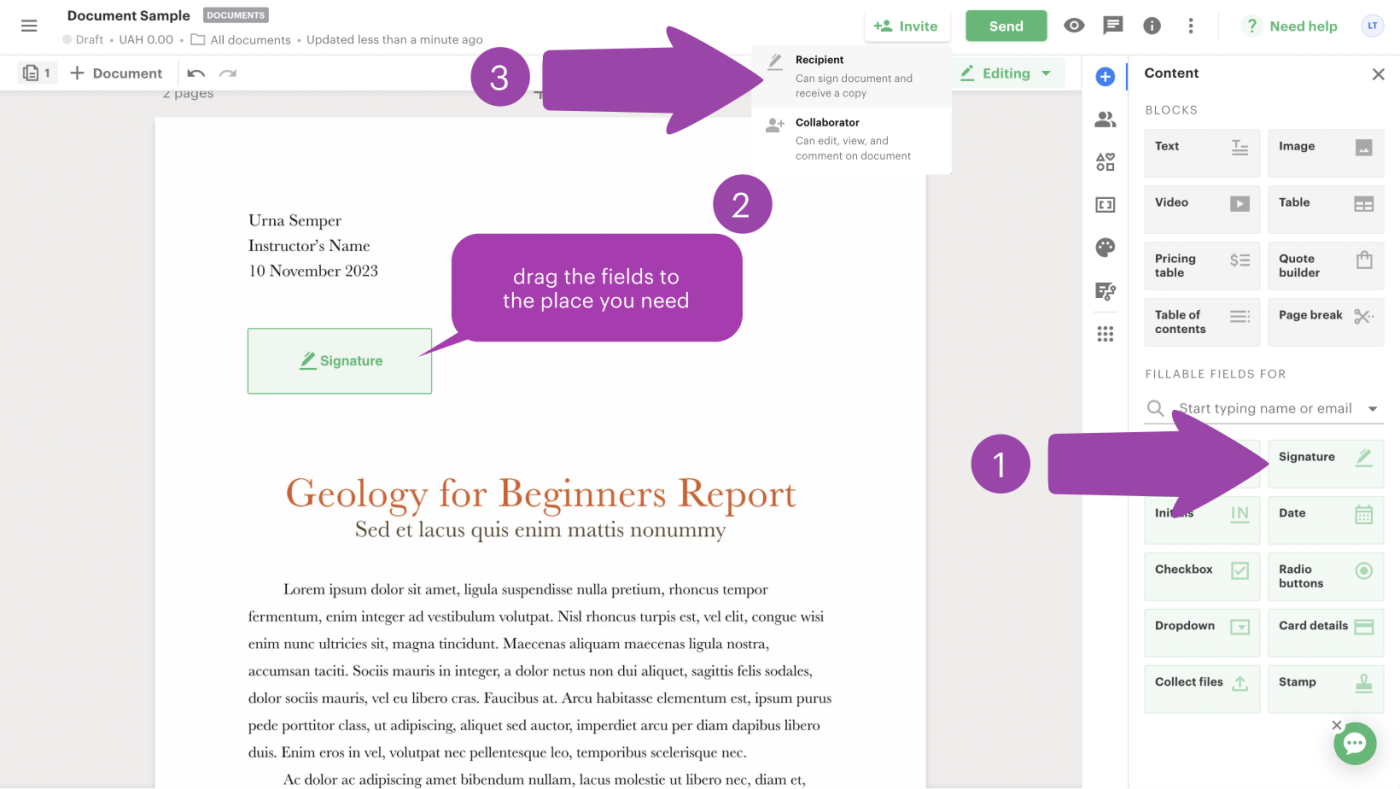
4. Select the ‘Signature’ tab from the toolbar on the right and drag-and-drop a field to the appropriate place in the document.
5. Click on the signature box and assign yourself as the recipient (you may need to add yourself as a new contact if your details are not already in the database).
6. Click on the ‘Signature’ field again and create the signature by either hand-drawing one, uploading an image, or typing in your name.
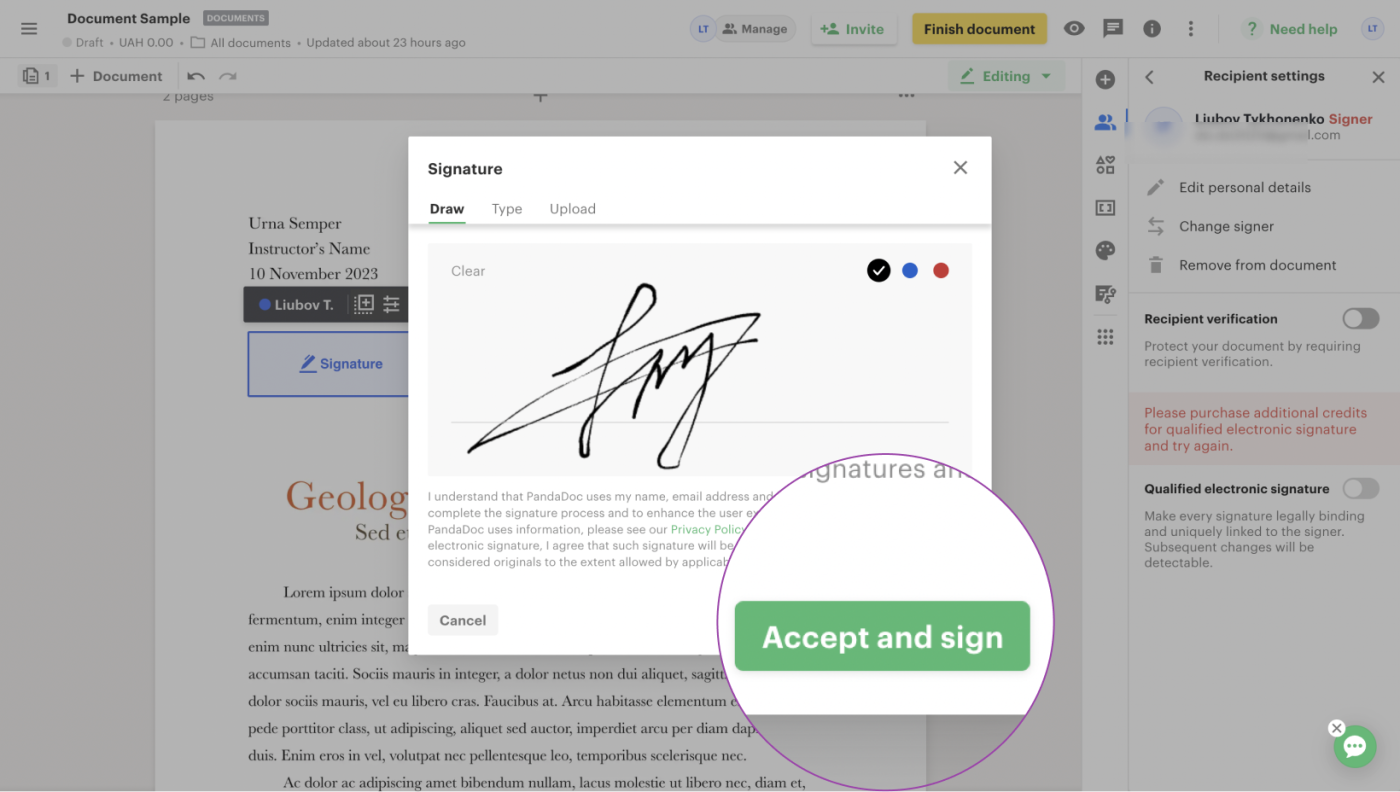
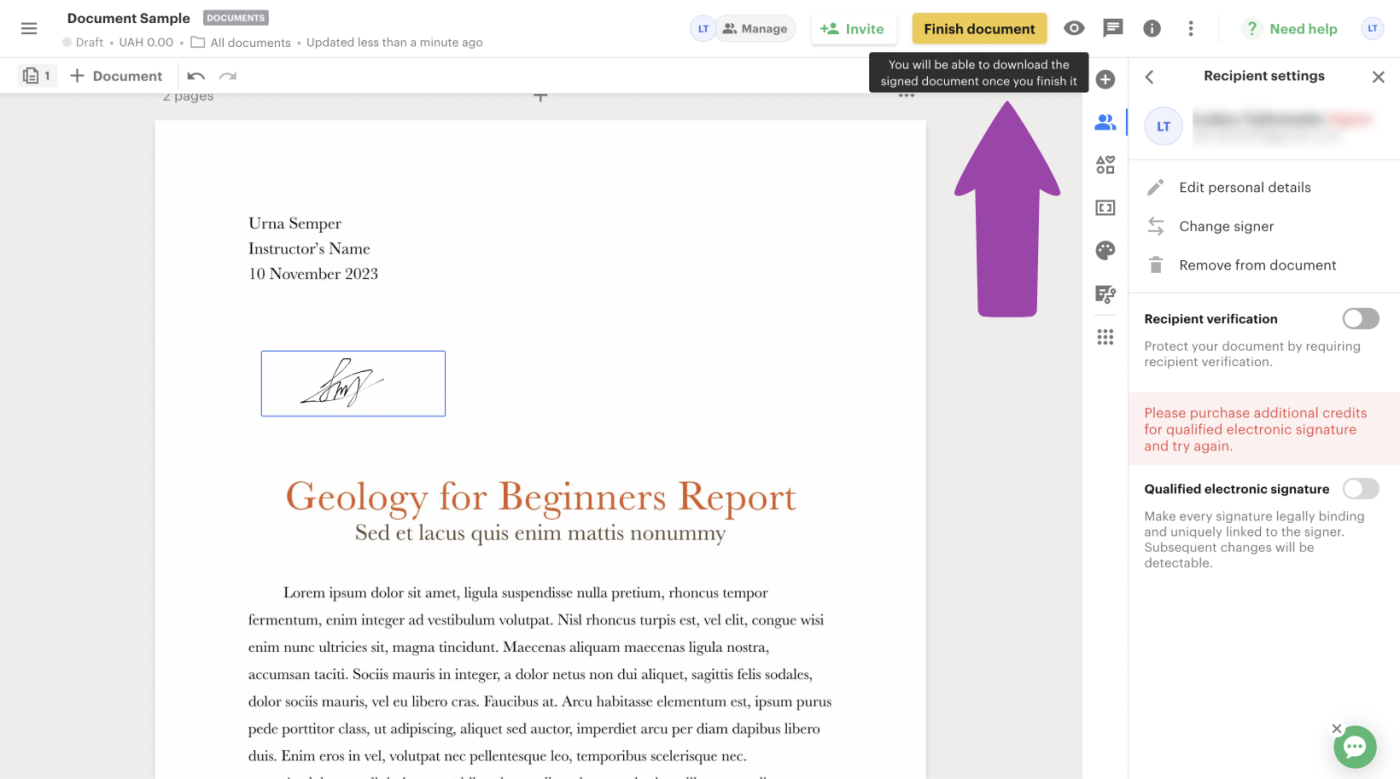
7. Click the ‘Complete’ button and either download the file in your desired format or send it directly to the original sender.
How to sign a document sent by email on an iPhone
So, you now know how to sign an emailed document from your computer.
What about on your mobile?
Most document-signing apps work equally well on both types of devices.
Markup tools are one way to easily sign a document on an iPhone. Here’s how to do it.
- In a supported app, tap Markup.
- In the Markup toolbar, tap + and then Add Signature.
- Use your finger to draw your name. If you’ve not done this before, it may feel a little awkward. If you don’t like what you’ve drawn, just tap Clear and try again.
- When you’re satisfied, tap Done.
After signing is complete, you can drag, resize, and alter the line weight and color. You can also exit markup mode by tapping outside the signature box.
Alternatively, you can use the PandaDoc electronic signature app on your iPhone by following these steps.
- Locate the document you need to sign from your document dashboard.
- Review the document, along with any fields that require additional information.
- Fill in any outstanding fields.
- Follow the prompts to e-sign and complete the document.
Sign emailed documents quickly with PandaDoc’s electronic signature software
You’ve got enough on your plate already; why get bogged down when it comes to getting emailed documents signed?
The answer to speedier closes and more efficient processes is right in front of you: electronic signature software from PandaDoc.
All of PandaDoc’s eSignatures are SOC2 Type II certified, and you’ll be notified as soon as a recipient signs a document.
That means no more waiting around for printers or scanners to kick into action or losing docs that get sent to your spam folder.
Start your 14-day trial now!