

Document automation software
Automated document creation that closes deals fast
PandaDoc helps teams automate repetitive tasks, build proposals in minutes, and track everything in one place. Speed up your document processes and get more done every day.
No credit card required

68,000+ teams rely on PandaDoc to automate their document process
"PandaDoc will allow us to work quickly through our high volume of incoming leads. And, with a 100% remote workforce, the ability to create, edit, and manage documents virtually will allow us to maintain business continuity throughout our operations."
Read full story
- more documents sent per month
- 25%
- faster to get a signature compared to Docusign
- 46x
- reduction in time spent creating documents
- 95%
What is document automation software?
Document automation software helps businesses reduce the time, effort, and errors involved in creating, sending, and managing important documents. Rather than creating documents manually, teams can modify pre-built templates and send them in just a few clicks.
With PandaDoc, users can generate polished documents in an automation-friendly environment. Drag-and-drop tools, pricing tables, a built-in content library, and automated e-signing make it easy to build, share, and sign documents without taking hours to create them from scratch or switching platforms in the process.
Why teams automate documents with PandaDoc
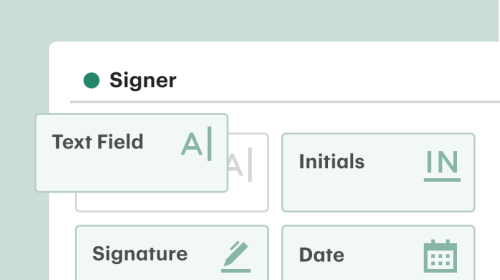
Create beautiful, polished documents
Upload an existing document or start from a pre-built template and modify it using our drag-and-drop editor. Save hours on formatting, revisions, and manual setup.

Boost close rates with interactive content
Add pricing tables, multimedia, and custom branding to make your quotes, proposals, and contracts more engaging and persuasive to prospective customers.

Get approvals fast with built-in electronic signatures
Take advantage of secure, legally binding e-signatures built into the PandaDoc platform, no plugins or third-party apps required.
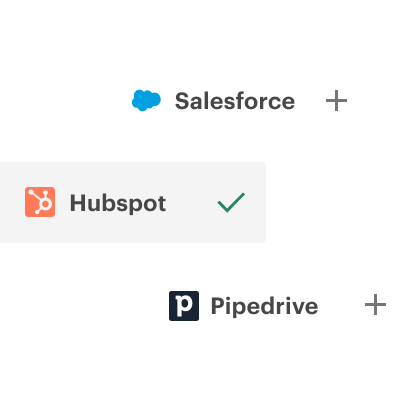
Connect to your CRM and automatically import client data
Connect PandaDoc with CRM solutions like Salesforce, HubSpot, to autofull your documents with accurate customer data.
Automate every step of your document process
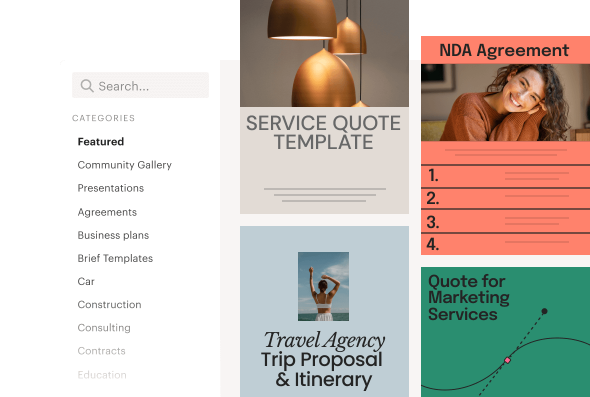
Kickstart your workflow with customizable, reusable templates
Use pre-built or branded templates to generate proposals, contracts, and agreements in a matter of minutes. Personalize these documents at scale using variables and customizable content blocks provided by our drag-and-drop editor.
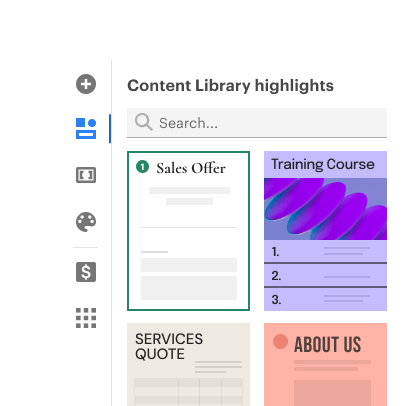
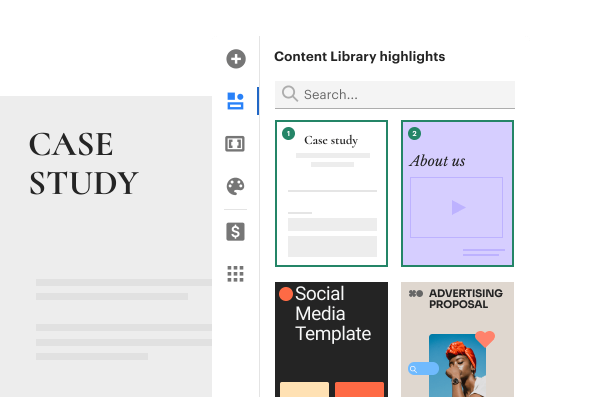
Keep docs compliant with pre-approved content blocks
Store legal language, case studies, product info, and other snippets in a central, unified content library. Add approved blocks to any document with a single click to save time, reduce risk, and maintain consistent branding and messaging.

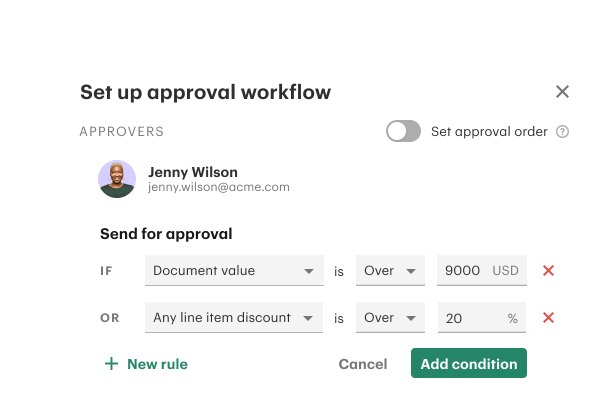
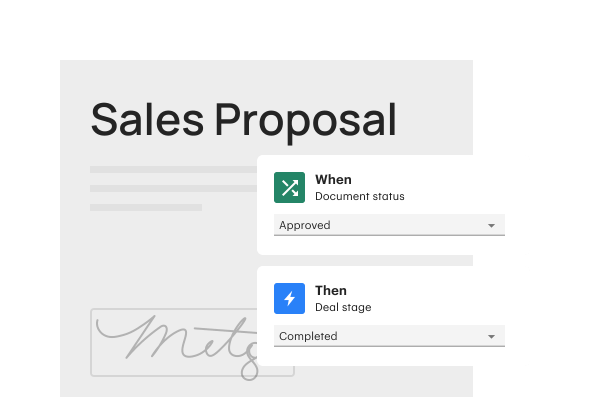
Control sensitive documents with smart approval rules
Set up customizable, automated approvals that trigger based on factors like document content or deal value. Documents exceeding these parameters are automatically flagged for review without slowing things down or relying on manual follow-ups.
Collaborate without switching tools
Rather than managing feedback and document changes with third-party tools, teams can use PandaDoc to collaborate within a shared document. Add comments, tag reviewers, and move work forward without swapping systems.

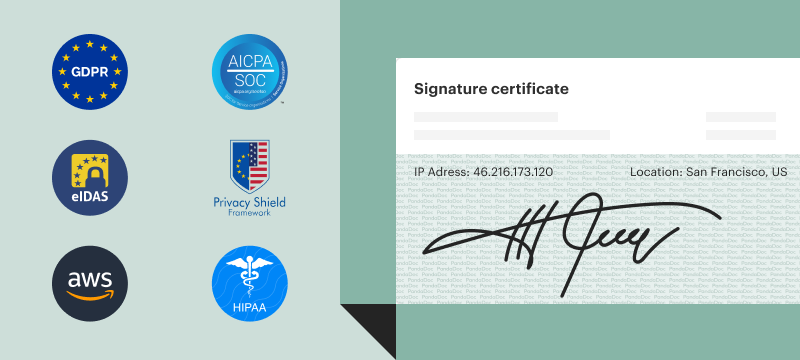
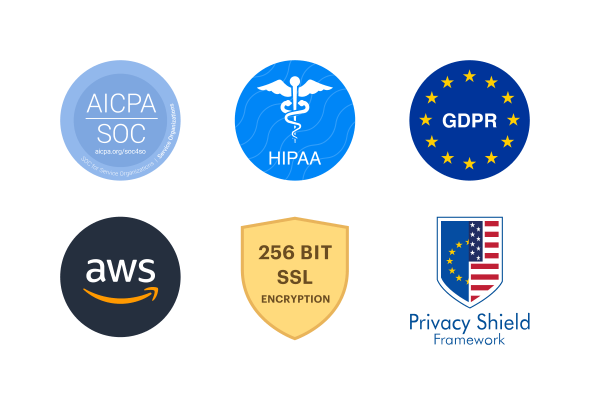
Protect every document with enterprise-grade security
Keep sensitive details secure with built-in encryption, secure storage, and audit trails. PandaDoc meets SOC 2, GDPR, and HIPAA standards, ensuring that your data is encrypted and secure without requiring additional plug-ins or extra tools.
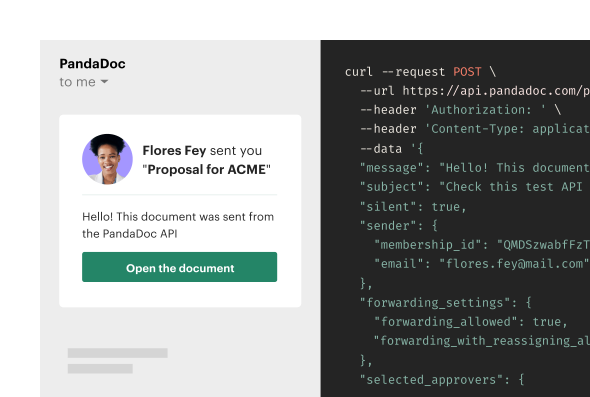
Build document automation into your tech stack with PandaDoc API
Generate, send, and sign thousands of documents automatically using fast, flexible API tools that scale with your document output.
- Automate document creation at scale.
- Trigger sending and e-signing via API calls.
- Customize templates with variables and dynamic data.
- Integrate seamlessly with your CRM and other tools.
Flexible automation for every business document
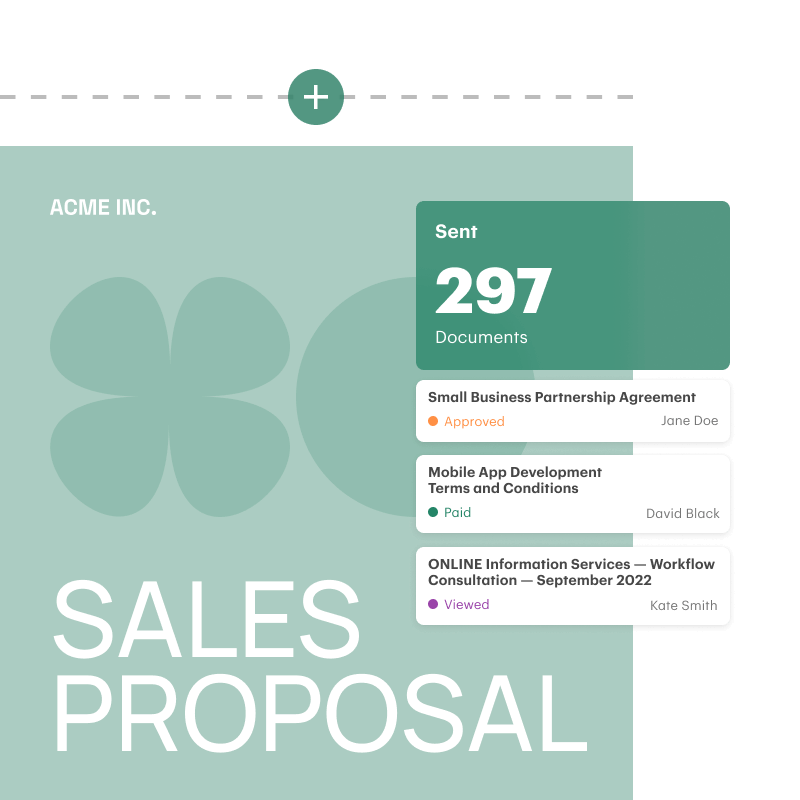
Automate every stage of your proposal process
Build, send, track, and sign proposals in one intuitive platform. PandaDoc automates repetitive steps like recreating common documents or sending reminders and follow-ups, so teams can avoid administrative tasks and stay focused on closing deals.
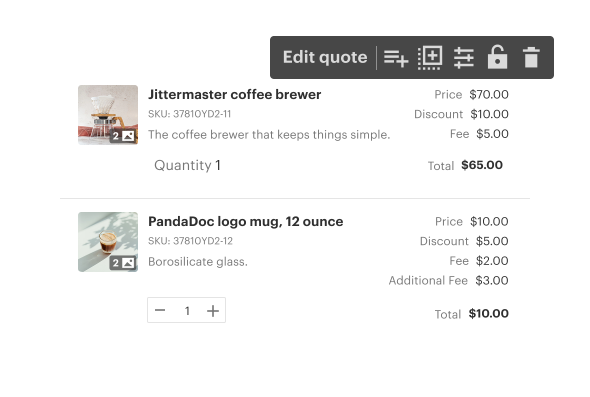
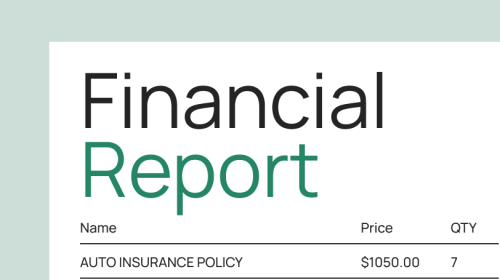
Send accurate quotes and invoices every time
With PandaDoc, teams can automatically generate quotes and invoices using templates. To calculate accurate costs, pricing details are pulled from the built-in product catalog and automatically tabulated inside document pricing tables.
Route, review, and sign contracts even faster
Using custom templates and rules, PandaDoc users can standardize how legal documents are created, reviewed, and signed. Keep sensitive information protected and ensure that critical documents are never sent without a proper review.
Learn how teams succeed with PandaDoc
Discover how businesses across various industries use PandaDoc to automate documents, accelerate deals, and improve team efficiency at scale.
Learn more about document automation
Frequently asked questions
Can I automate proposals and contracts with PandaDoc?
Yes. PandaDoc is built to help teams facilitate a complete, end-to-end automation of the sales and contracting processes.
With PandaDoc, it’s possible to create reusable templates from completed documents, autofill key details using variables and conditional content, add pricing tables, collect legally binding e-signatures, and much more.
These processes are effective for generating one-off contracts, high-volume proposals, and most business or sales collateral, allowing teams to eliminate repetitive work without sacrificing quality or control.
How is PandaDoc different from other solutions?
One of the biggest differences between PandaDoc and similar competitors is that PandaDoc offers an end-to-end document management solution that suits teams and professionals across various industries..
PandaDoc users can create documents entirely from scratch (but we recommend modifying a pre-designed template), set it up in a way that perfectly suits a specific business use case, add e-signature and payment fields, and integrate the entire process with the rest of their company’s tech stack.
Then, when documents are sent, teams can collaborate with stakeholders and track user activity without ever leaving the platform where the document was originally designed!
Nearly all competitive solutions force users to integrate third party apps (like Docusign) in order to facilitate what PandaDoc does natively.
What technical expertise do I need in order to automate with PandaDoc?
None! PandaDoc is built for ease-of-use and offers an intuitive, user-friendly interface. The document editor utilizes a simple block system and is equipped with drag-and-drop functionality. Conditional content, variables, product packages, and other elements are simple and easy to set up.
If you’re looking for deeper API integrations with custom or third-party solutions, some development expertise may be required. However, PandaDoc also offers a host of native integrations, so technical know-how isn’t always required to connect PandaDoc with the rest of your tech stack.
Is PandaDoc secure and legally compliant?
Yes. PandaDoc complies with major industry standards like SOC 2 Type II, GDPR, and HIPAA (with a signed BAA).
All data is encrypted, documents are securely stored, and e-signatures captured on the platform are legally binding and backed by full audit trails.
For added security, PandaDoc also offers role-based document permissions to protect sensitive materials, as well as advanced identify verification options for critical documents.
Can PandaDoc integrate with my tech stack?
Definitely. PandaDoc connects with leading CRMs like Salesforce, HubSpot, Zoho, and Pipedrive, along with tools like Google Drive, Zapier, Slack, and others. These integrations allow users to create, send, and track documents directly within the systems that you already know and rely on.
You can also use API tools for custom integrations, but this will require additional time and resources to set up.
Automate your document process with PandaDoc
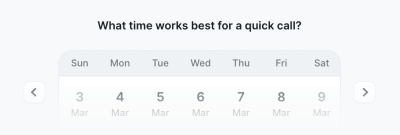
Get personalized 1:1 demo with our product specialist.
- Tailored to your needs
- Answers all your questions
- No commitment to buy
Schedule your free live demo
- Fill out the form
- Book a time slot
- Attend a demo
By submitting this form, I agree that the Terms of Service and Privacy Notice will govern the use of services I receive and personal data I provide respectively.