How to create a fillable form in Word
To create a fillable form in Word, you need to enable the Developers tab and use form controls.
This article provides a step-by-step guide explaining how to locate the tab and effectively use controls for a quick turnaround.
For those interested in more advanced and automated fillable forms, we’ve also added methods for both Adobe Acrobat and PandaDoc.
Creating a fillable form in Microsoft Word
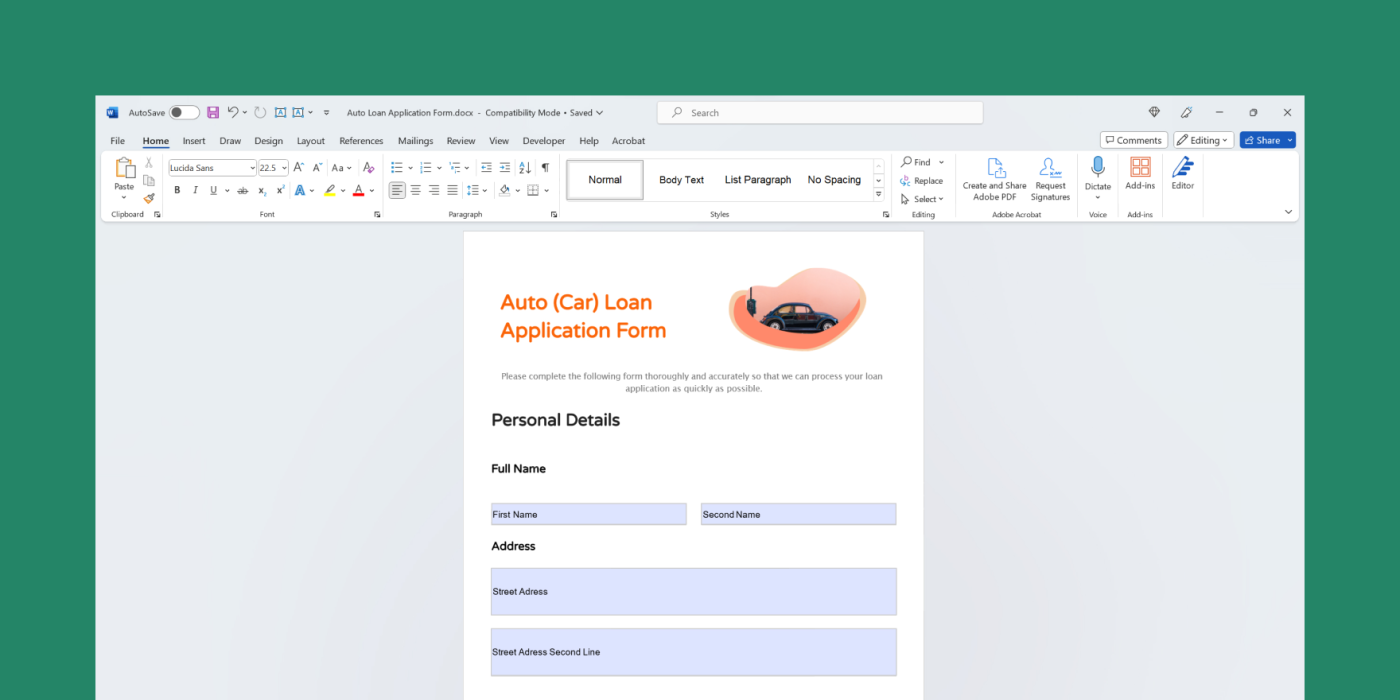
Step 1. Create a new Word document
Launch Microsoft Word. Click the New tab on the left and select Blank document.
Step 2. Enable the Developer tab
Once you open a new document, go to the File tab and select Options.
Click Customize Ribbon and check the Developer box. Press OK. The Developer tab should appear at the top of your Word window now.
Step 3. Organize content on a page
Add content to the page before you start formatting it. Write down the title of your document and decide on the number of sections and fields. Build a table (if applicable), and then move on to the next step.
Step 4. Format a fillable form
Click the Developer tab and press Design Mode to enable it.
With this mode on, you can add form controls to your document: rich text, plain text, combo box, date picker, check box, and legacy tools.
When you finish formatting the form, press the Design Mode button again to exit it.
Step 5. Manage restriction settings
In the Developers tab, click the Restrict Editing tab. Select the Editing restrictions checkbox and choose Filling in forms from the list that appears.
In the end, press the Yes, Start enforcing protection button.
The document is now restricted. Anyone you send this document to will only be able to fill in the forms.
Creating a fillable form in Adobe Acrobat
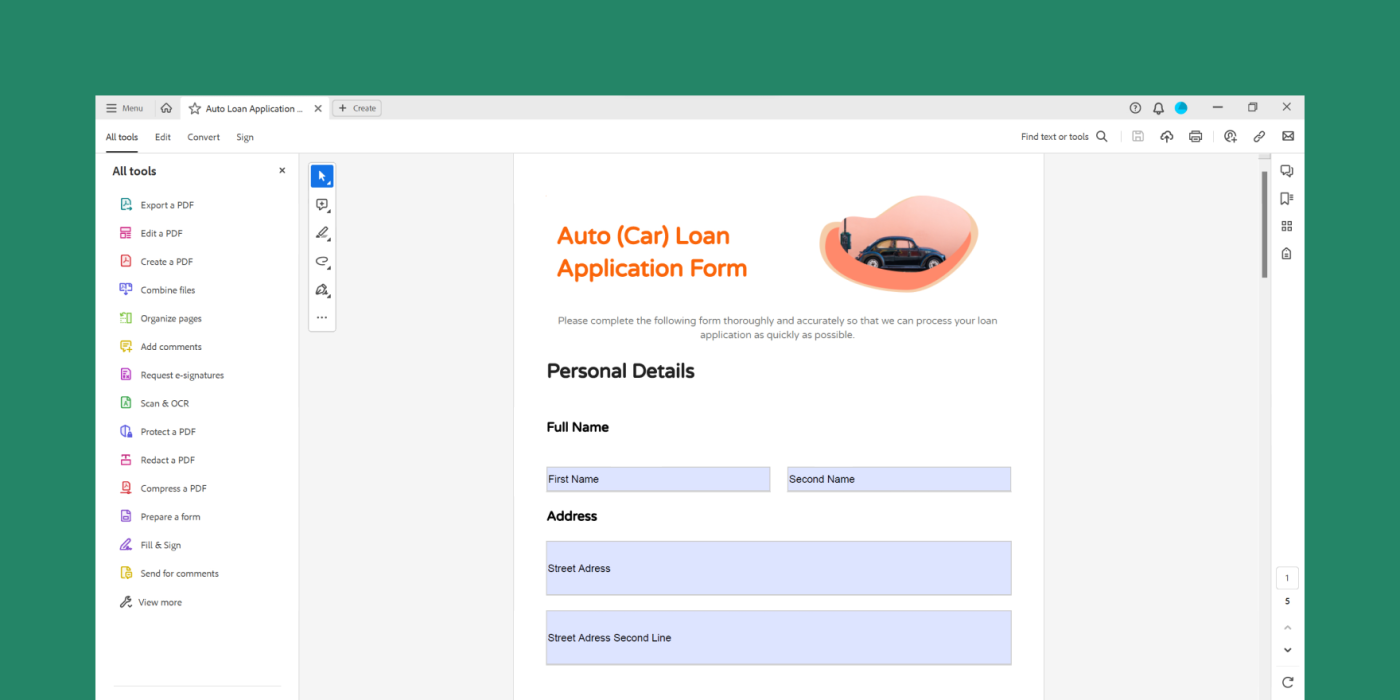
If you’ve already converted your Word document into a PDF, no worries — Adobe Acrobat allows you to transform a file into a fillable PDF, ensuring you don’t take a step back. The guide below shows you how.
Step 1. Open your PDF document
Open the PDF document that you want to turn into a fillable form.
Step 2. Enable Form Editing
Click on the Tools tab in the top menu and select Prepare Form. Acrobat automatically analyzes your doc and identifies the form fields.
Step 3. Add Form Fields
You can add form fields manually, too. For that, click Add a Text Field or Add a Check Box button.
Step 4. Set Form Field Properties
Double-click on each form to see their properties. You can change the name, appearance, and other parameters. Set validation options to ensure that users enter the correct type of information.
Step 5. Send your form
Once you finish your form, you can send it to recipients using the Distribute tab. Choose Email and enter the email addresses of your recipients.
Easily create fillable forms with PandaDoc
Step 1. Enable fillable forms
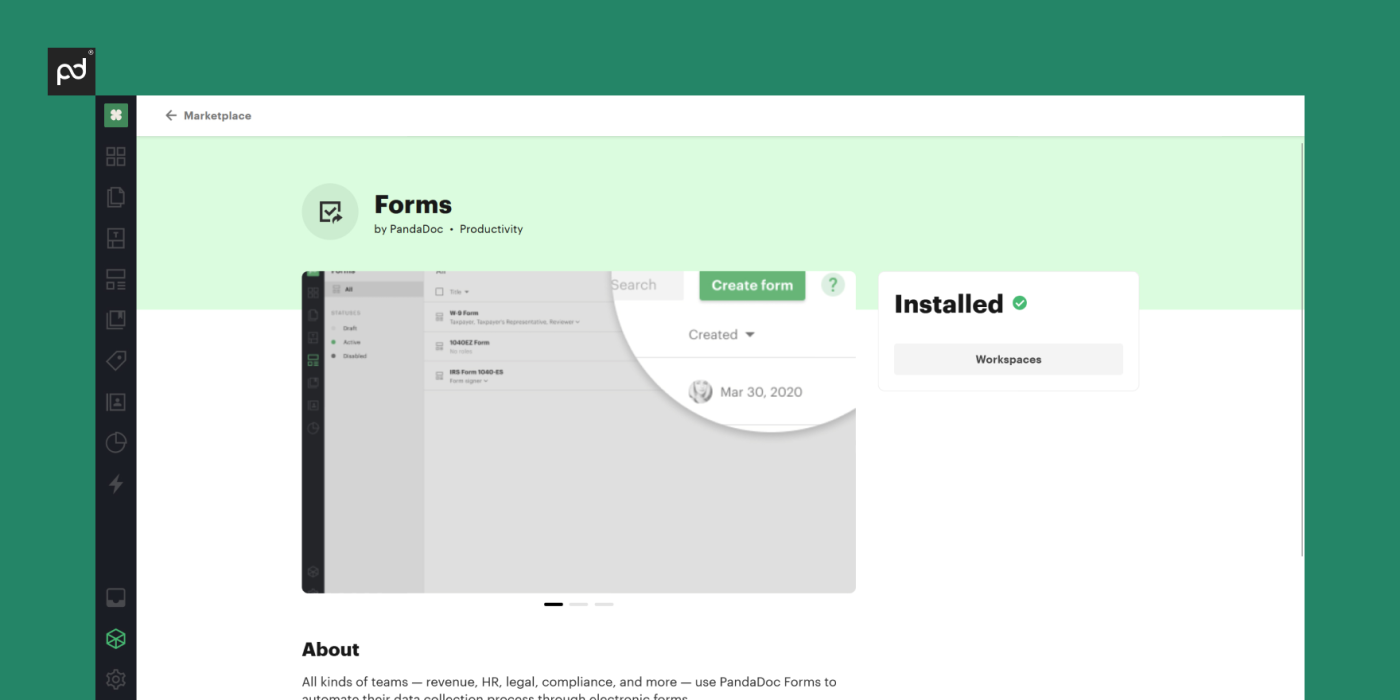
Log in to your PandaDoc account. Go to the Add–onstore and choose Forms.
From there, click on the Workspaces button and check the boxes next to those spaces you want to enable the add-on for.
Refresh the page and you will be able to see the Forms section on the left-hand panel.
Step 2. Create a form
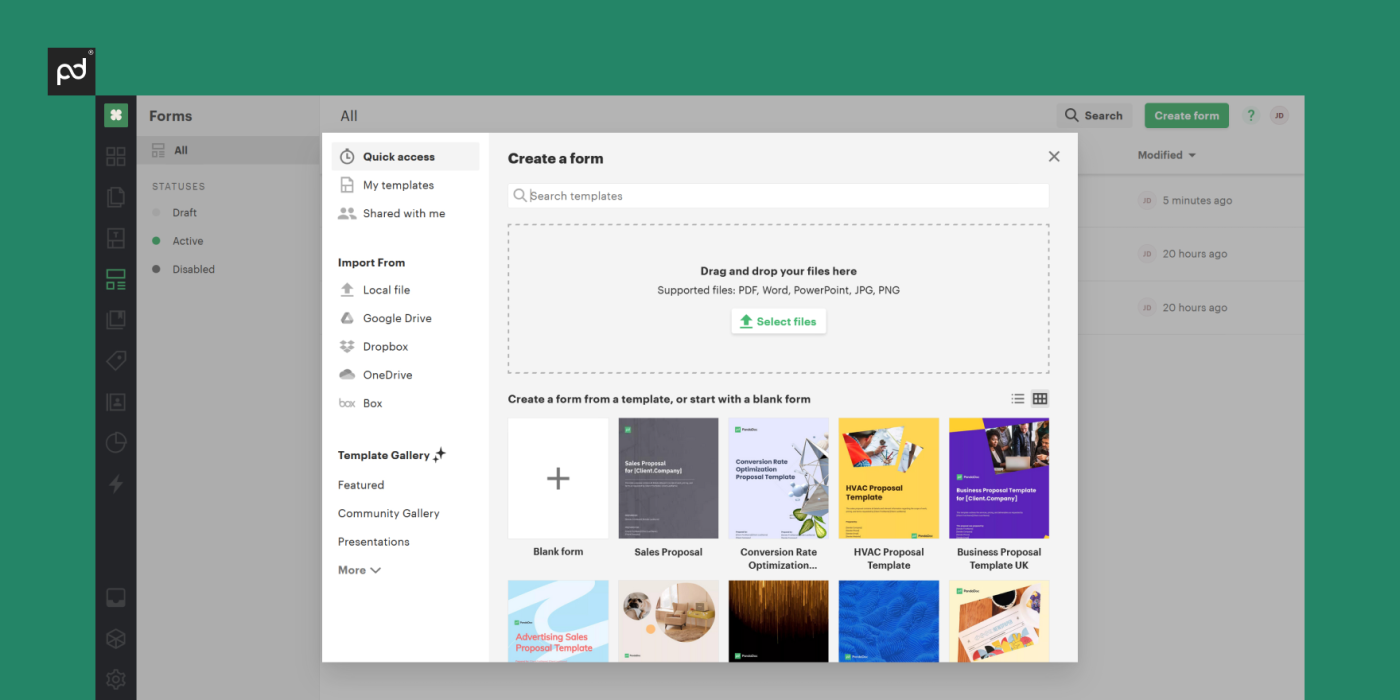
Go to the Forms section and click the Create form button in the top right corner of the screen.
You have two options here. One is to select an existing template from a library of 1000+ business templates.
The second option is to create a form from scratch — for that, you need to upload an existing file and convert it into an editable PandaDoc document.
Step 3. Customize your form
Whether you choose an existing template or create your own one, you have options for customization.
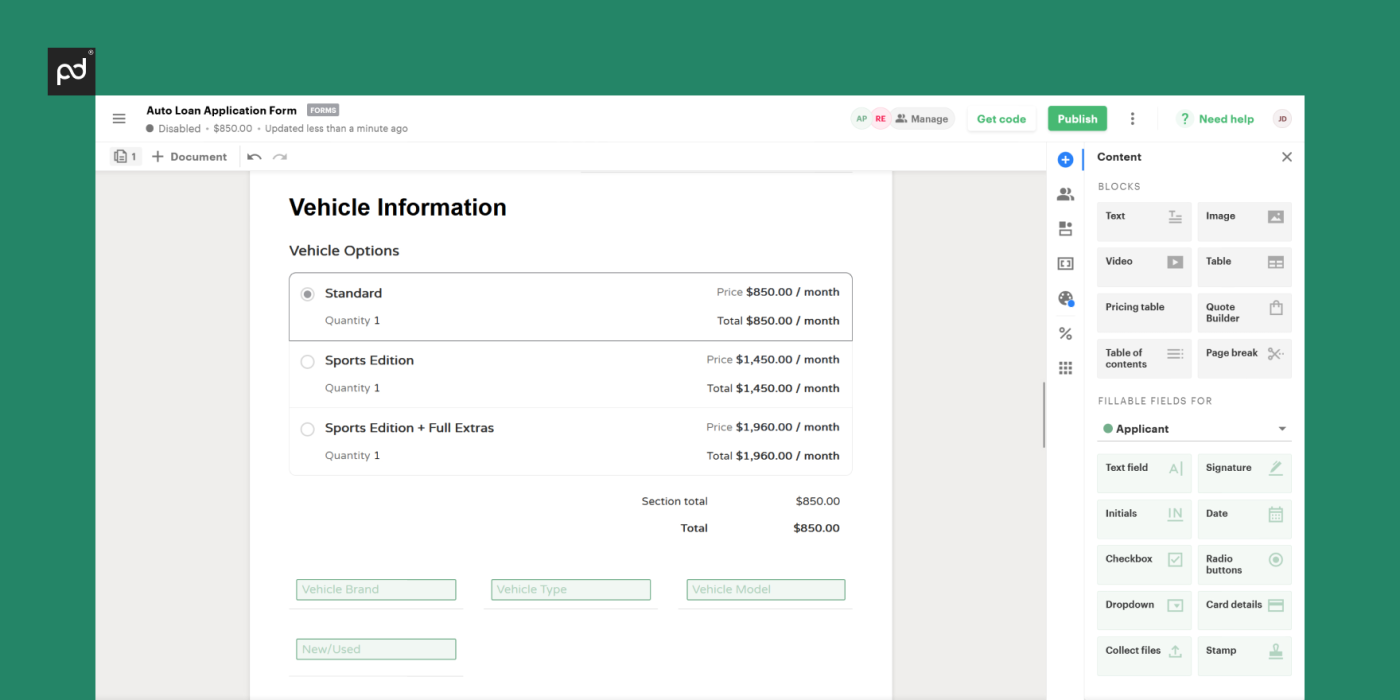
Add fillable fieldsto your document, such as content blocks, signature, date, initials, dropdown, and more.
If you’re building a financial form, you can also add an interactive pricing table or quote builder.
Additionally, a Collect files field allows recipients to upload files in your form.
Modify the design of your form by adjusting the margins of content blocks, adding a background, and changing the page orientation.
Step 4. Specify recipients/roles to your form
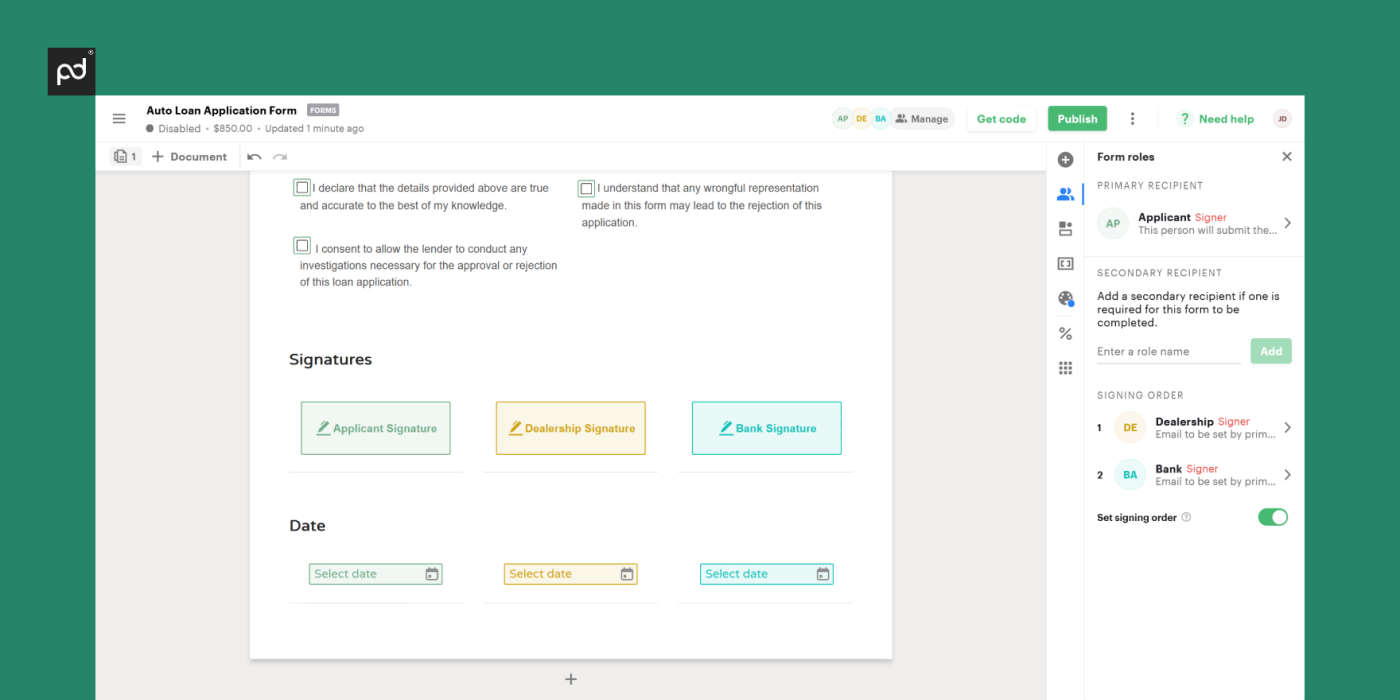
Go to Form roles and enter a primary recipient, the person responsible for initiating the signing process.
If you have a cosigner for the document, specify a secondary recipient.
If you have multiple secondary recipients, set a signing orderfor them to ensure they receive the document in the order you have listed.
Step 5. Finalize your form
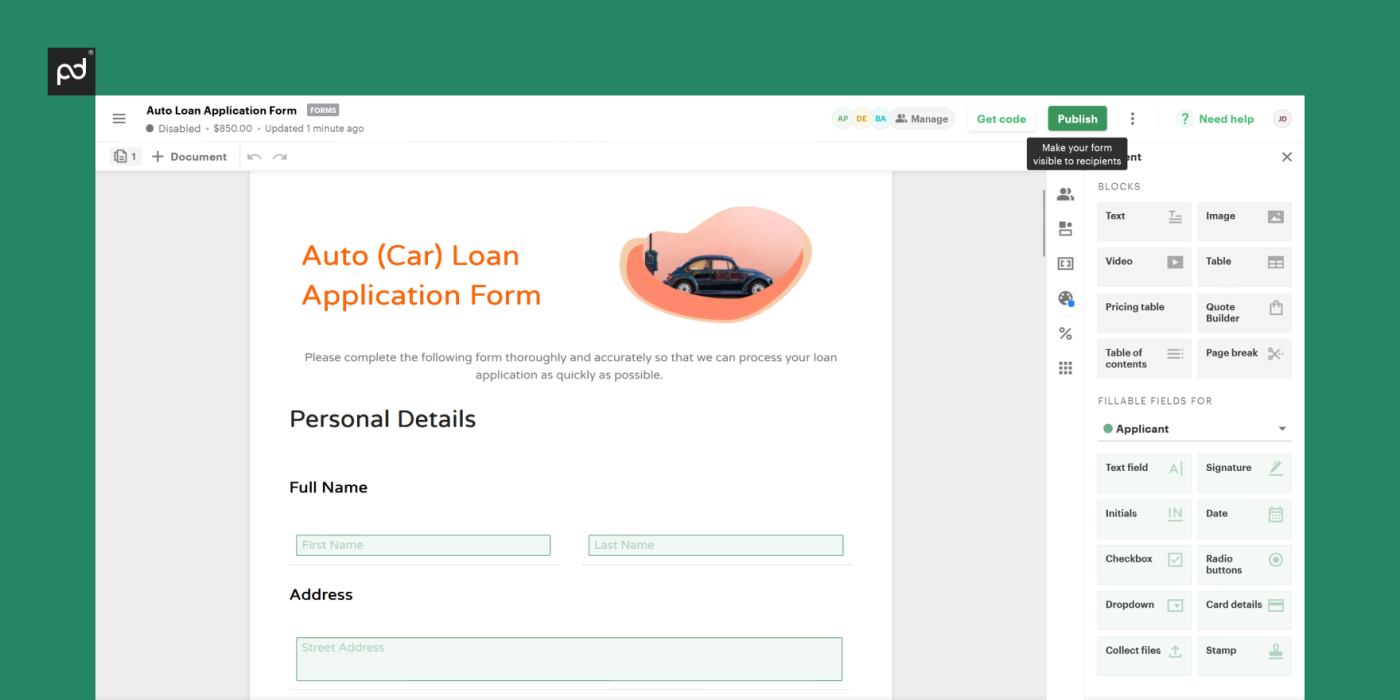
When you’re ready to share a form with recipients, click Publish at the right top corner.
Publishing a form lets you generate a code snippet to insert it on a website, or a direct link in case you want to send it to a recipient directly.
Final thoughts
While you can create simple and advanced fillable forms in Word and Adobe Acrobat, PandaDoc allows you to do more than that.
PandaDoc’s document management software allows you to create, send and track forms while keeping them secure.
Use a library of 1000+ business templates instead of starting from scratch on your own. Try out PandaDoc for free using a 14-day trial.
