How to create your first web form
Without a web form, let’s just say you’ll have an incredibly hard time trying to collect data on prospective and existing customers.
Generating new leads, getting feedback on your services, or gathering any other kind of information that’s vital to the growth of your business will be completely out of reach.
With that in mind, here’s how to create a form for a website.
What is a web form?
First off, a web form is the main point of interaction between users of your website or any other kind of web app you might have.
It allows them to input data, which is then sent for processing and storage on a web server.
In some cases, the data can be used on the client side to update the interface depending on the nature of the form in question.
For instance, the data provided by the user may be used to reveal/hide a UI component. It may even add an item to the list.
It’s important to understand the fundamental features that make up the HTML of a web form.
Some of these include form controls, or “widgets”, like checkboxes, radio buttons, drop-down menus, text fields, and so forth.
You can program these form controls to enforce specific rules governing the format and values you want users to input.
This is known as form validation. It’s always good practice to pair them with text labels that have a brief description of what they’re for to enhance usability for both sighted and impaired users of your website.
Traditionally, forms were created by web designers who had extensive knowledge of a wide array of programming languages.
We’re talking JavaScript for data validation; JSON for data storage and transmission between the webpage and server; CSS for styling; PHP for server-side access; HTML for website structure… the list goes on.
Today, however, you can create forms for your WordPress website or web application with virtually no programming background.
All you would need is a web browser, a couple of plugins, and an API or Zapier integration to a form builder like PandaDoc to do it.
How to create web form: A step-by-step guide for beginners
With that overview, let’s jump into the fun part – building web forms. Right off the bat, there are generally two ways to do it.
The first is the hard and, quite frankly, tedious way that requires you to code – and who wants to do that, right?
The second way, which is the easier and more convenient option, would be to use form builder software like PandaDoc Forms.
We prefer to take the easier route, and we’re sure you do too, so that’s what we’re going to discuss below.
Step 1. Think about the questions you want to ask
The purpose of your web form needs to be clear right from the outset.
What information do you want to collect from your audience and site visitors? Are you trying to generate leads?
Do you want to get feedback from your customers on your products and services?
Maybe you want a Contact Us form to provide a convenient way for clients to reach you if they have any queries about your services.
The point is – the purpose of your form will determine the kind of questions to ask.
The rule of thumb is to keep the questions short and sweet. There’s nothing more off-putting to a site visitor than being confronted with a seemingly endless sea of questions.
They’ll simply exit the page. No one likes to feel like they’re sitting for an exam. Ask the questions that matter the most to your business, and abandon the rest. Simple and concise is what you’re after.
Step 2. Ensure the purpose of your form is clear to the user
It closely ties to the previous step, only that in this case, the purpose of your web form needs to be clear to the respondents.
Here’s how to achieve this.
1. Include clear instructions
Less is more, particularly when it comes to web forms. The headline of your form needs to state what it’s for. If it is a Feedback Form, for instance, label it as such.
Make sure you also communicate what kind of information you’ll need from users.
It could be in the form of a summary statement on the kind of questions you’re going to ask and how you intend to use that information. We cannot overstate the importance of being transparent.
2. Incorporate straightforward headers
These are the short bursts of text above each form field.
A feedback form, for instance, can have the following headers: First Name, Last Name, Were you satisfied with our services?, How can we improve?… You get the idea.
It ensures that your respondents spend the least amount of time possible filling in the form, without having to guess what kind of information you require.
3. Keep it clutter-free
Cluttered text is not only off-putting but also makes you look unprofessional.
Anytime you’re tempted to write long paragraphs explaining the kind of information you need from your visitors, ask yourself this – Can I say it in two sentences? Now, can I say it in one?
Again, this goes back to having the purpose of your form clear in your mind before you come up with the questions. The form interface needs to look clean, crisp, and organized.
Step 3. Choose the type of web form you’ll use
This is critical to the whole process.
The purpose of your web form will advise what type of document you should use, what kind of questions you should ask, and the format of the responses you should expect.
Here’s a brief overview of the most popular types of web forms you should consider using.
1. Contact form
It is used to provide a means through which your site visitors can get in touch with you to raise an issue, inquire about your products/services, or even demand a refund.
Contact forms usually have fields that require respondents to input their name, email address, phone number, or any other relevant contact information.
They may also contain a text-entry field for individuals to explain why they’re reaching out to the business.
2. Lead generation form
This type of form is exactly what it sounds like – a web form that converts site visitors into leads.
It typically requires users to provide their personal information like their name, email address, phone number, and affiliated company.
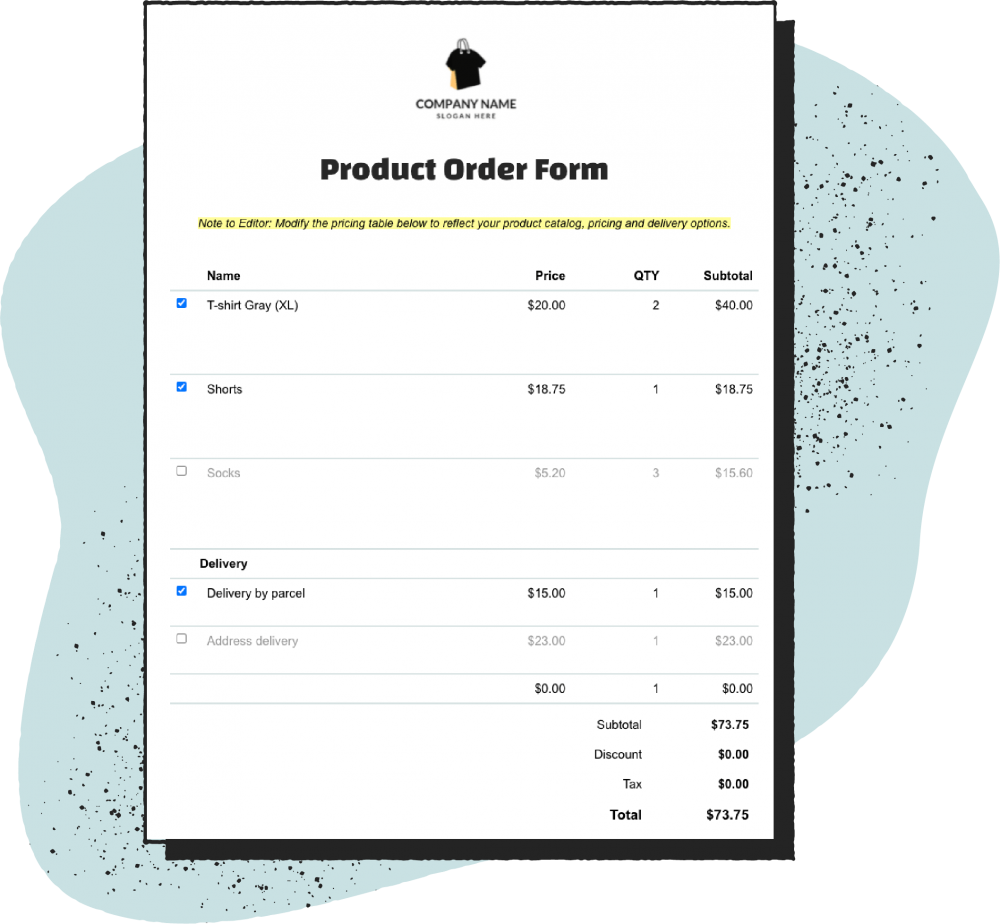
3. Order form
This type of form allows customers visiting your website to place orders, input billing and shipping details, and provide their contact information.

They are often quite detailed and require users to go through a series of steps before the item in question can be dispatched.
4. Registration form
This would be the most appropriate type of form to use if an individual was interested in signing up for the services you offer.
Registration forms usually require users to provide their name, contact information, and current location.
Some may require visitors to set up a username and password, and any other information the business deems to be relevant.
5. Survey form
This type of form may include a combination of long-form responses, fill-in-the-blank, and multiple-choice questions.
It is often deployed when a business needs to learn more about its customers’ experiences with its products/services.
These form types come in handy when you need to learn how your customers feel about your brand to find ways of improving service delivery to your clientele.
Since this would be your first-ever web form, the best thing to do would be to pick a pre-designed, ready-to-use template from PandaDoc’s vast document library.
Find one with questions that closely fit your requirements. You can then use them as is or customize them to match your brand.
Step 4. Set up form fields
So far, you already know what kind of information you’ll need from your respondents, the questions you’ll ask, and the type of web form you’ll use.
You’re now ready to set up your form fields.
The most important thing to keep in mind when doing this is the kind of responses you’ll need from users.
You’re essentially beginning with the end in mind, so to speak.
Knowing the kind of answers you need, will help you determine the right questions to ask, and the types of fields you’ll need to incorporate into your form.
It’s important to mention at this point that regardless of the type of form you’re creating, it should always have a provision that requires respondents to provide their basic contact information – even if it’s just their name and email address.
This is not only important for lead generation, but you’ll also be able to identify individual submissions, which is a critical component in any data collection scenario.
Pro tips for creating form fields
For the most part, setting up form fields on PandaDoc Forms is predefined.
It allows you to pick from previously created options and add them to your form using the software’s intuitive drag-and-drop editor.
- Use long or short text-area fields depending on the length of the answers you expect to get from your respondents.
- Consider incorporating other field-entry types such as checkboxes, radio buttons, drop-down menus, multiple-choice questions, and so forth.
Keep in mind that the form fields you pick also need to make sense to your visitors. It’s the only way you’ll get the answers you seek.
For instance, if you’re running a survey on your website, multiple-choice fields would make the most sense.
On the other hand, if you have questions that may have multiple answers to them, radio buttons or checkboxes would be the most appropriate in such a scenario.
Additionally, you can configure input constraints for certain fields in your form.
It is particularly useful when you have a text box and you want respondents to provide a short answer in a specific number of character inputs.
Step 5. Embedding your form on your website
Once you have your web form all set up, it’s time to embed it on your website. The first thing you’ll need to figure out is which web page will host your online form.
For instance, you could opt to incorporate a registration form on your site’s landing page or place a feedback form on the Contact Us page.
Once you know where to place it, PandaDoc Forms allows you to copy the code and paste it to your website’s HTML code to add the form.
Alternatively, you could generate a direct link to it. Once your form is embedded and published on your site you’re now ready to start receiving form submissions.
Step 6. Test your form to make sure it works
The final step involves checking that your web form works.
Step into your visitor’s shoes and fill it out from their point of view.
That way, you’ll know if there are any aspects of its design, questions, and fields that might need a bit of tweaking.
PandaDoc allows users to make edits directly to the form by clicking Unpublish without having to remove the entire code from your website.
Once you make the required changes, click Publish and the newer, updated version will automatically display on your site.
Streamline data collection with PandaDoc
There you have it – how to create your first web form.
If done right, it’s a powerful tool for generating leads, propelling conversions, and getting invaluable insight into your business to increase your bottom line.
Get PandaDoc Forms for your business today. Sign up for a 14-day free trial.

