

How to insert a signature in Pages
There are several ways you can insert a signature in Pages, such as using an existing image of your signature, adding a drawn signature, using Apple Preview and by utilizing electronic signature software.
In this short article, we will show you steps needed for each way.
By the end, you will be able to choose a method that best suits your needs!
Method 1: Use an existing image of your signature, or add one
Note: If you already have a signature, for example as a pic saved in the Photos app, skip to Step 4 of this method below.
Step 1: Draw your signature
Pen & paper method
Start by drawing your signature on a blank piece of paper. Ensure that there is enough ink throughout (a clear signature).
You’ll then take a photo or scan the signature to digitize it. Use your phone settings to edit the image by either boosting the brightness and contrast to make the signature and the background look black and white.
Digital method
Going this route, you can use:
- Your touchscreen, mouse or trackpad;
- An installed app like Sketch if you are using a MacBook (and if you don’t already have a drawing app).
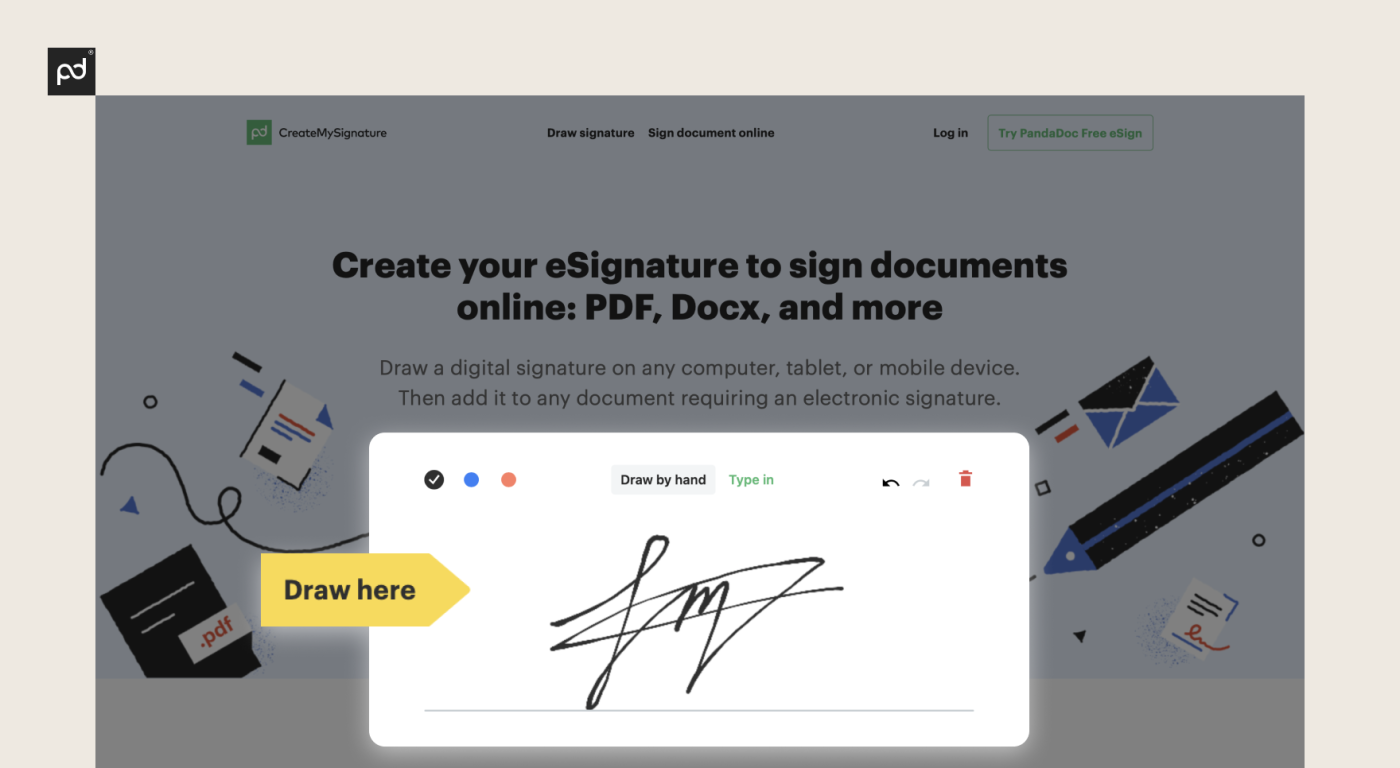
You can also reduce the time needed to digitize the signature by drawing a digital one using an online tool.
Step 2: Save the image as either a JPEG or PDF file
Step 3: Insert the image file into Pages
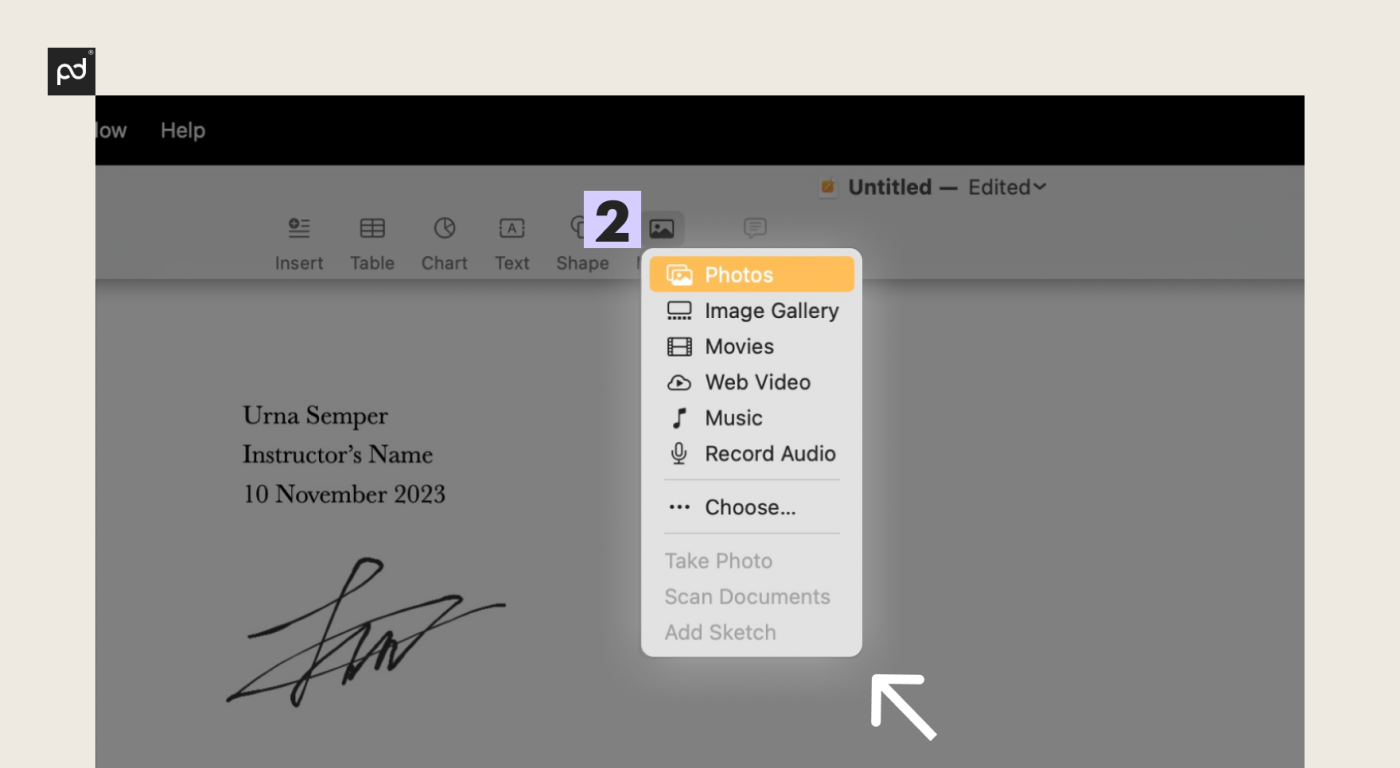
Open your document in Pages and place your cursor where you want the image, then select “Media” in the toolbar.
(In order to use a PDF as a floating object, hold down the “Command” key and click outside of the page margins.)
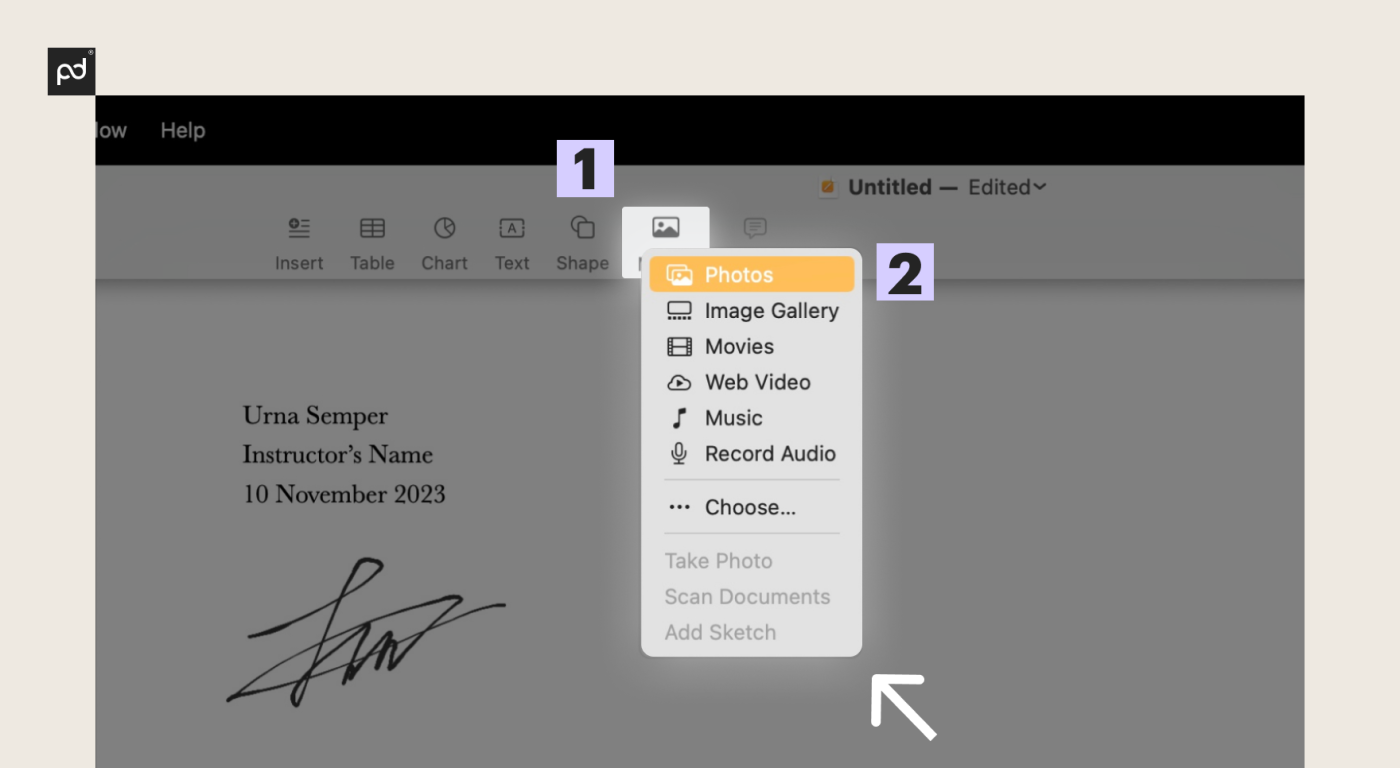
Step 4: Choose one of the available options
- Select “Photos” if the signature picture is in the Photos app and then select the picture to place in the document.
- Pick “Choose” if the signature file is elsewhere on the computer; select it and click “Insert.”
- If the file is on the desktop or in an open folder, just drag it right into the Pages document.
Method 2: Using Apple Preview
Here is the process for getting it done with Preview:
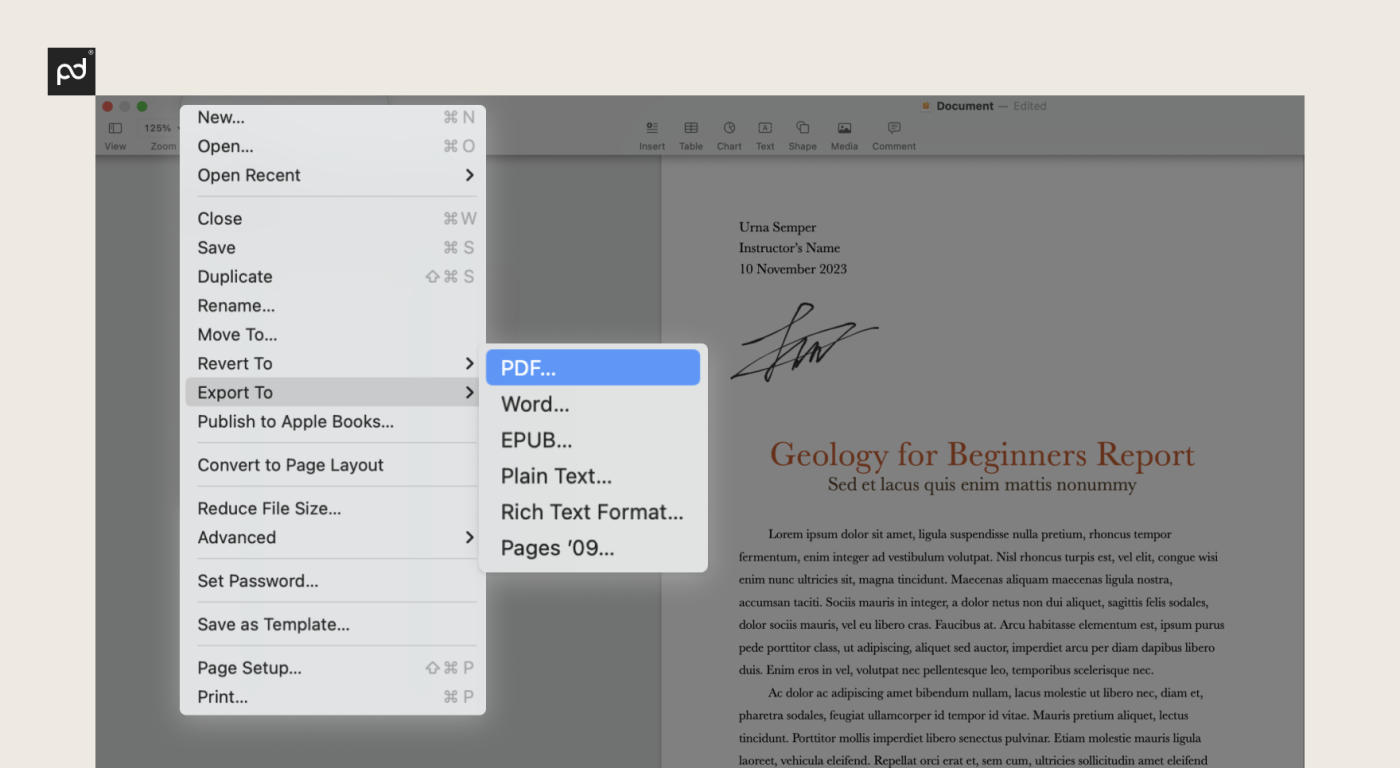
Step 1: Convert your document
Apple Preview allows editing on PDFs, so the first step will be exporting your file as a PDF or using an online tool for document conversion.
Step 2: Create your online signature
Open your PDF file with Apple Preview and click on the Markup icon, choosing the Signature item. You will see “Create Signature.”
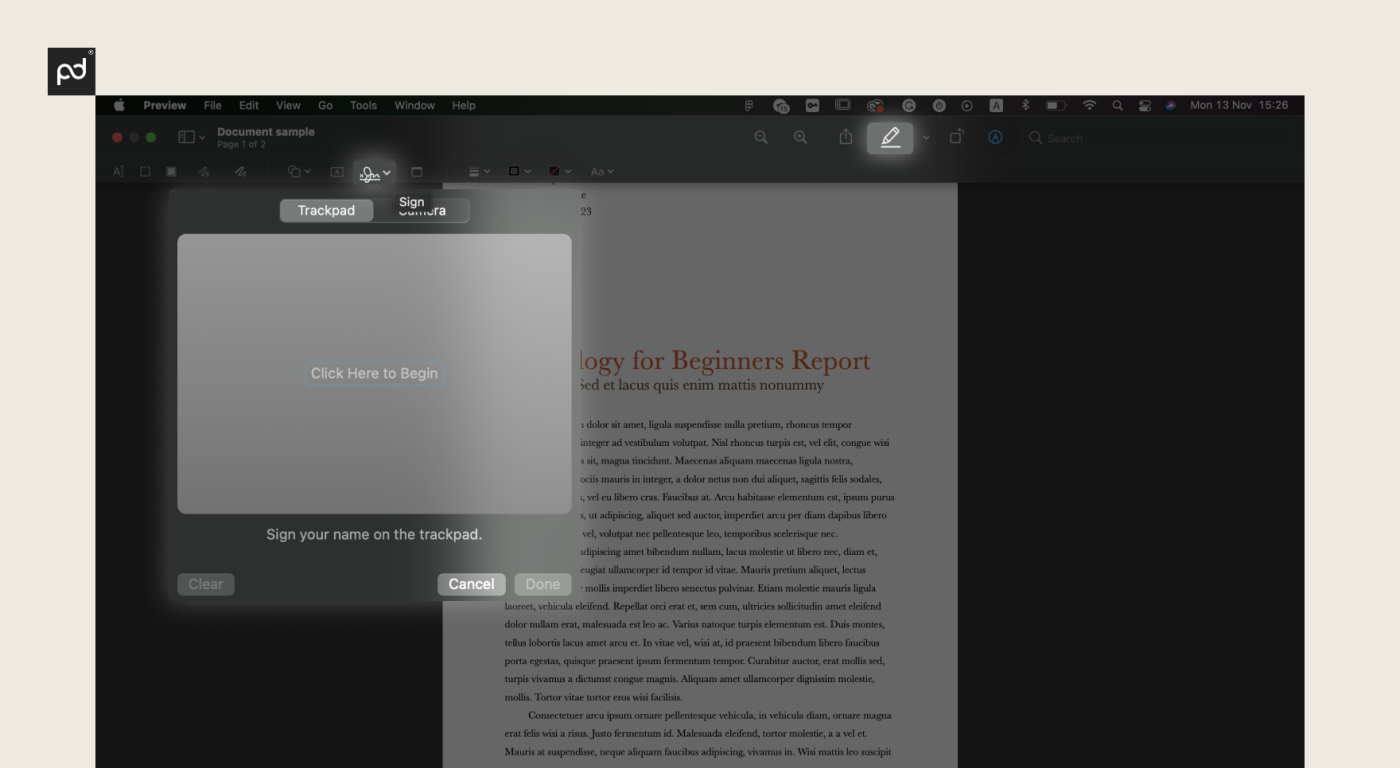
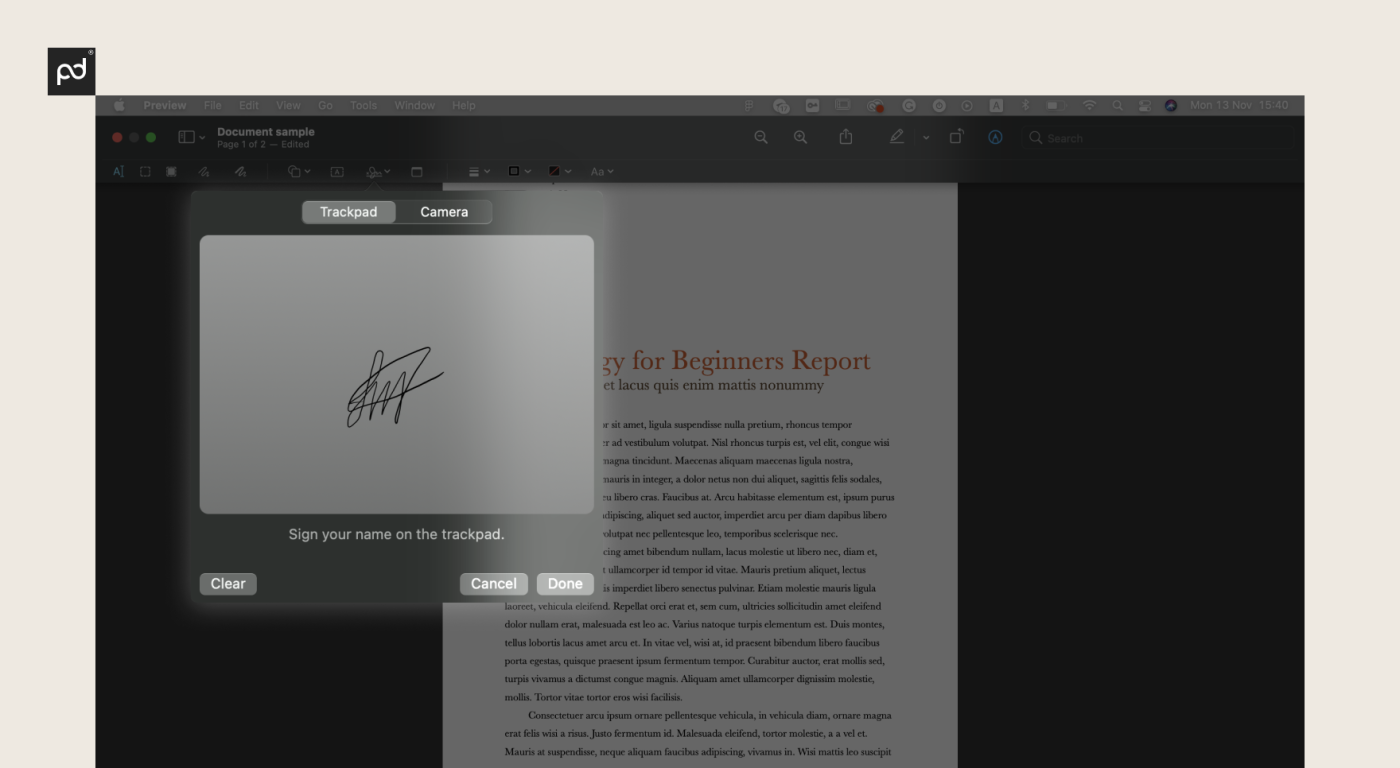
Step 3: Sign using a trackpad
Click the trackpad option and you will see a drawing window where you will see how you can draw a signature with a trackpad. In this scenario, the trackpad works as a signature-capturing device, meaning you can use your finger as a “pen” to draw your signature.
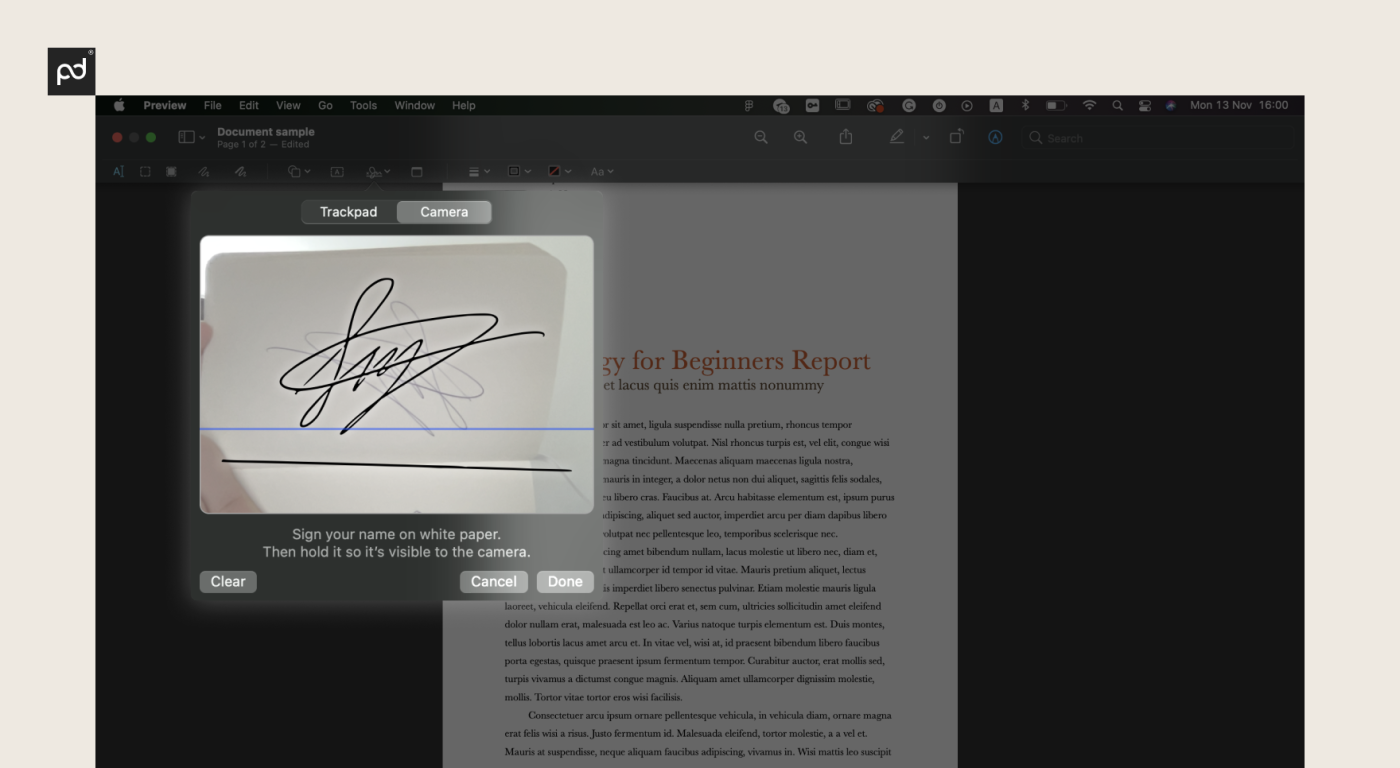
Step 4: Sign with the webcam
If you are not keen on drawing a signature using a trackpad, you can select the camera option. Then the process is similar to the 1st way we described above — digitizing your handwritten signature.
Step 5: Signing with your iPhone or iPad
If your iPhone or iPad is connected to a Mac, you can use the iPhone or Device option. You will be able to draw a signature on the touchscreen using either a finger (for iPhone) or an Apple Pencil (for iPad).
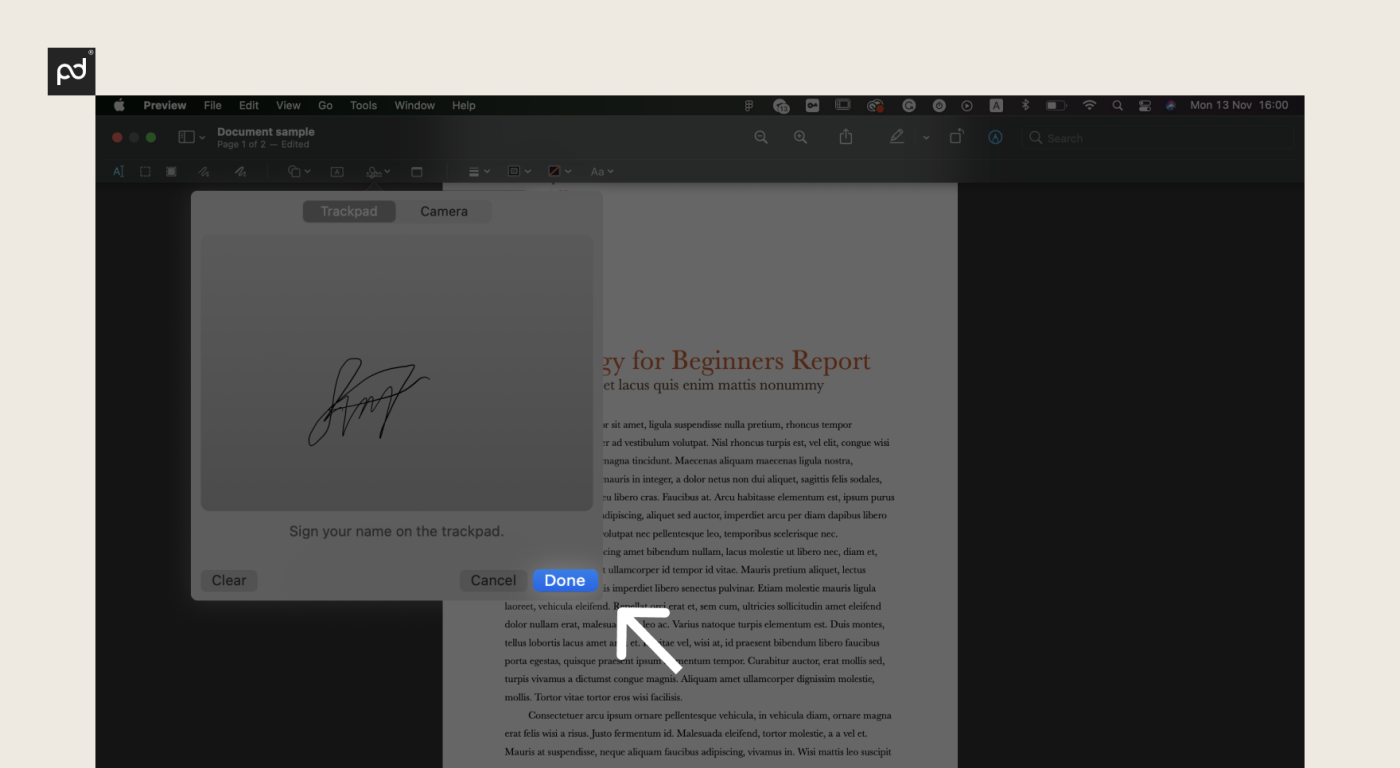
When ready, click on the “Done” icon and the signature will be saved to Pages automatically.
Method 3: Utilizing electronic signature software
Along with the CreateMySignature option above, PandaDoc allows you to e-sign PDFs as well as Pages and Word documents, offering advanced security.
Follow the steps below:
Step 1: Convert your Pages document to PDF

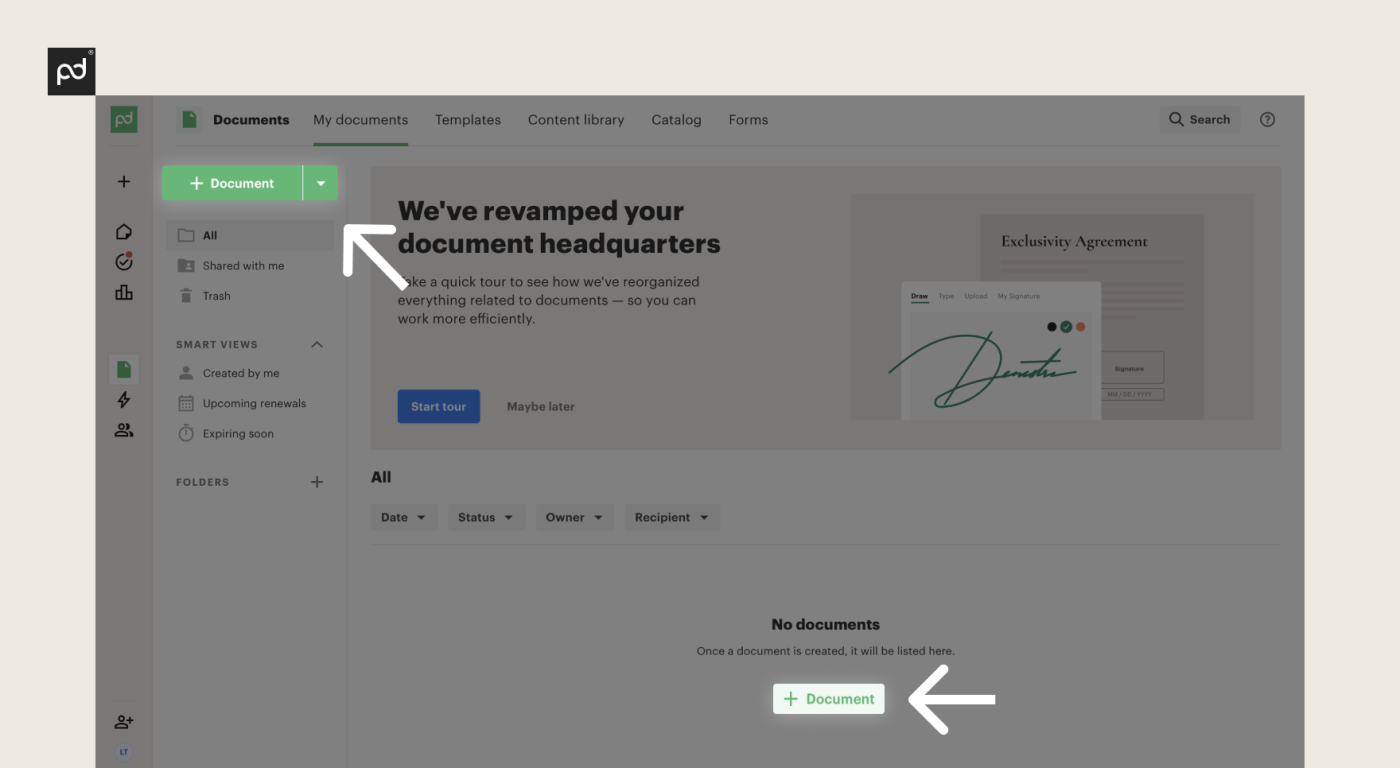
Step 2: Sign up or log in to PandaDoc
Sign up or Log in to your PandaDoc account and choose “New Document.”
Step 3: Choose “Upload tab”
Insert the file that you want to sign. It will be uploaded to PandaDoc and be viewable through the interface.

Step 4: Click the “Display as”
If your document is looking good and no editing is required, click on “Display as.”
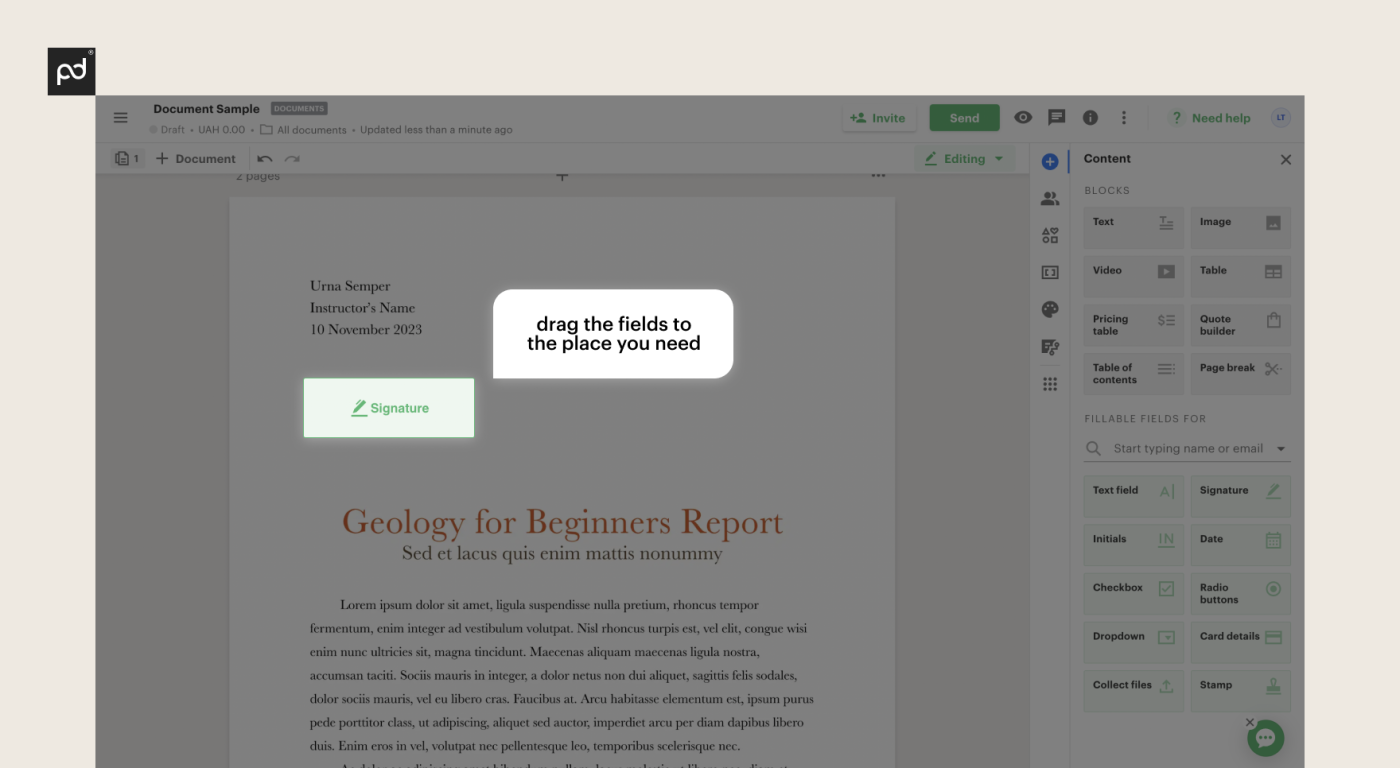
Step 5: Select the “Signature tab” from the toolbar
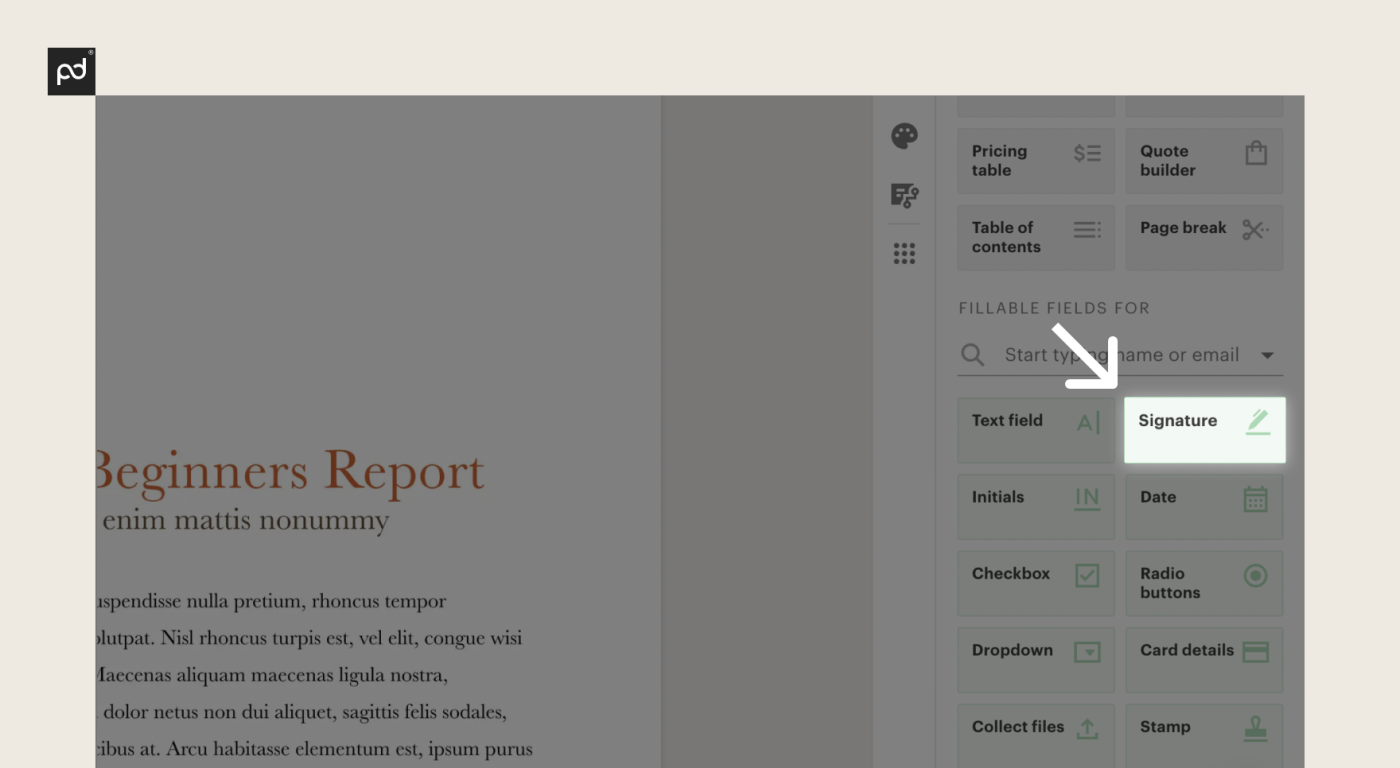
The toolbar is located on the right. Drag-and-drop a signature field to the signature line in the document.
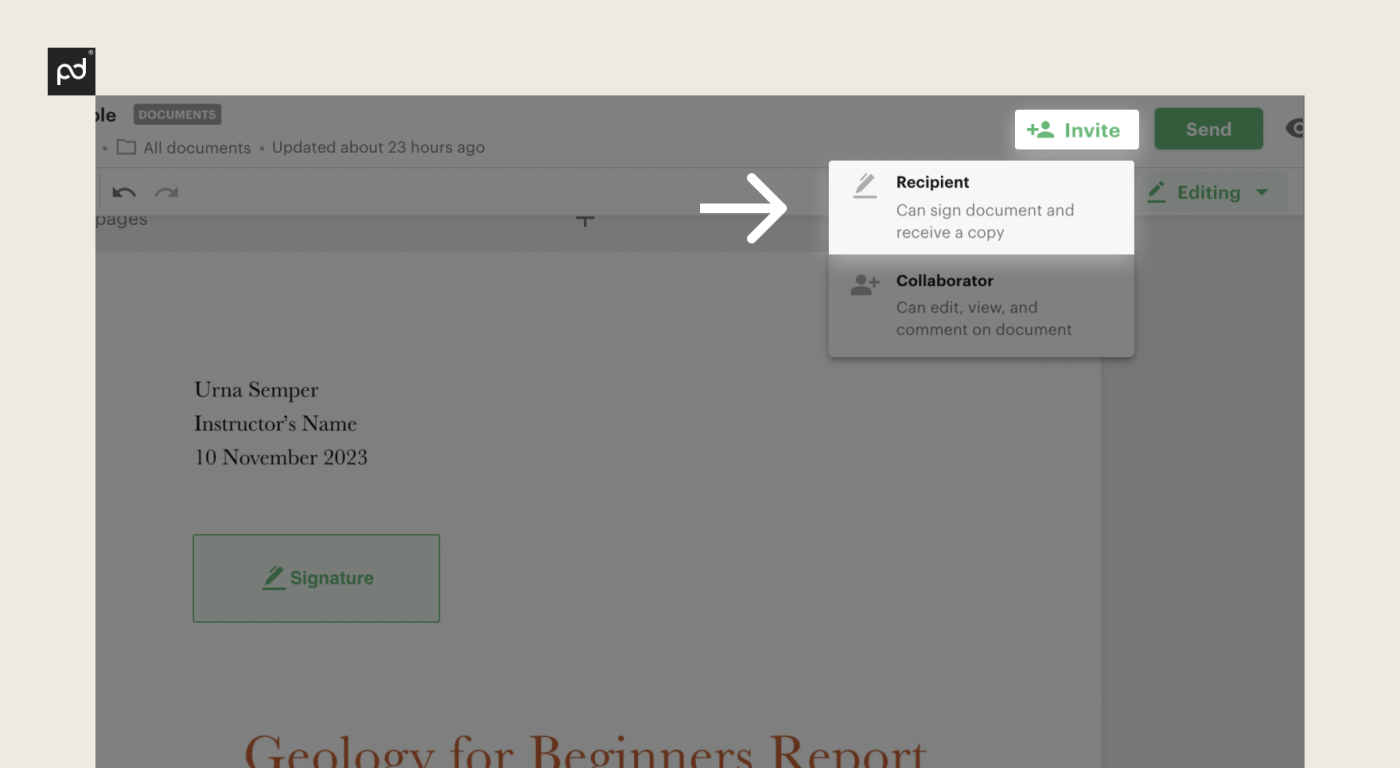
Step 6: Assign yourself as the recipient
Tab on the signature box to assign yourself as the recipient. Please note that you may need to add yourself as a new contact if the details aren’t already in the database.
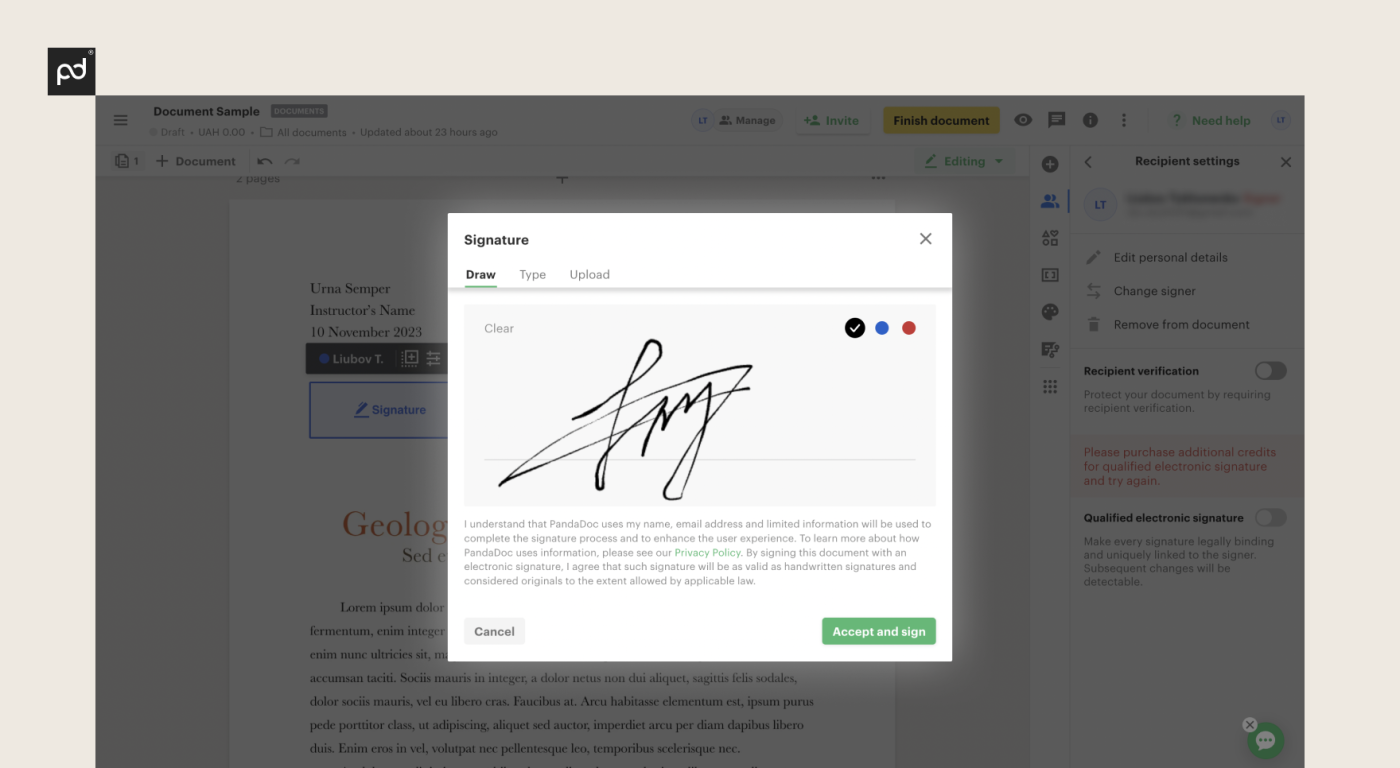
Step 7: Click on the signature field again
Here you will be able to create the signature by hand-drawing one, uploading an existing one or just typing your name.
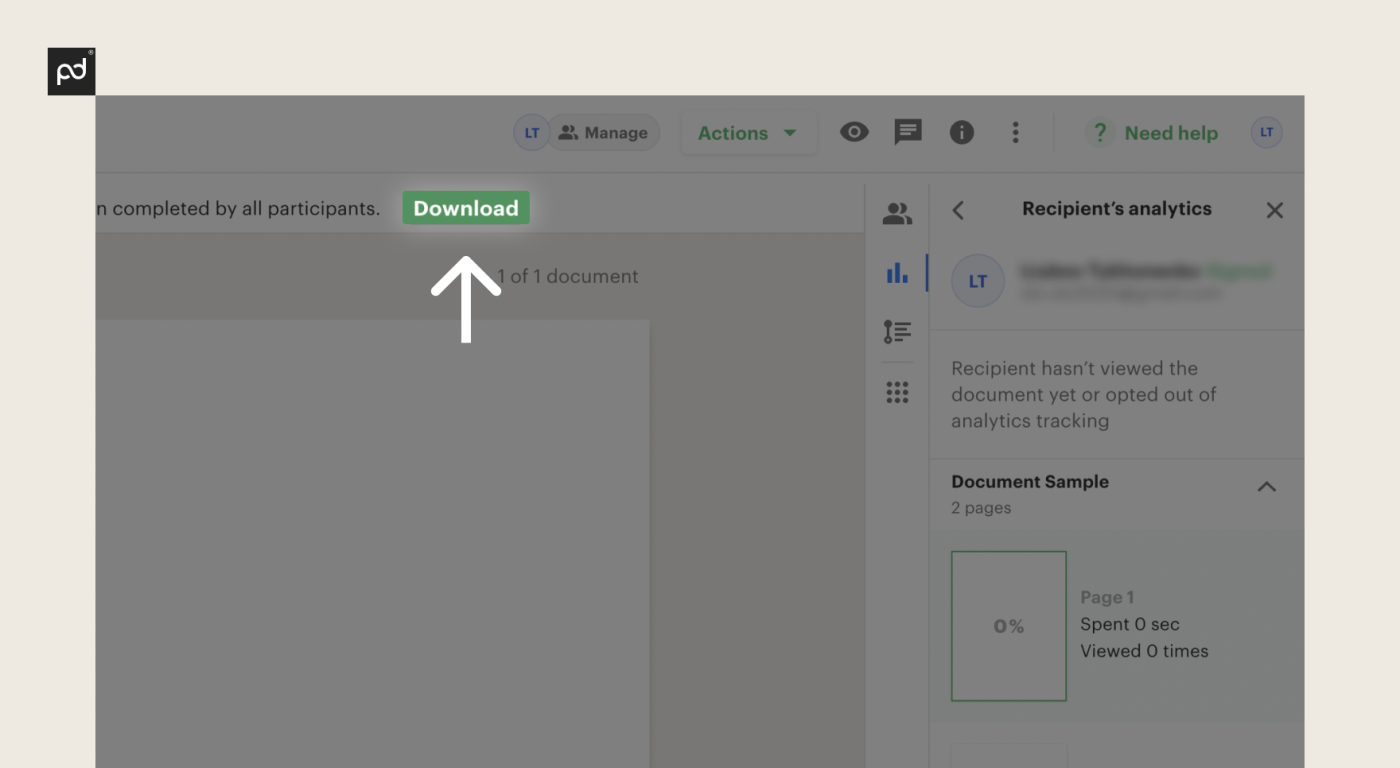
Step 8: Click the Complete button or download the file
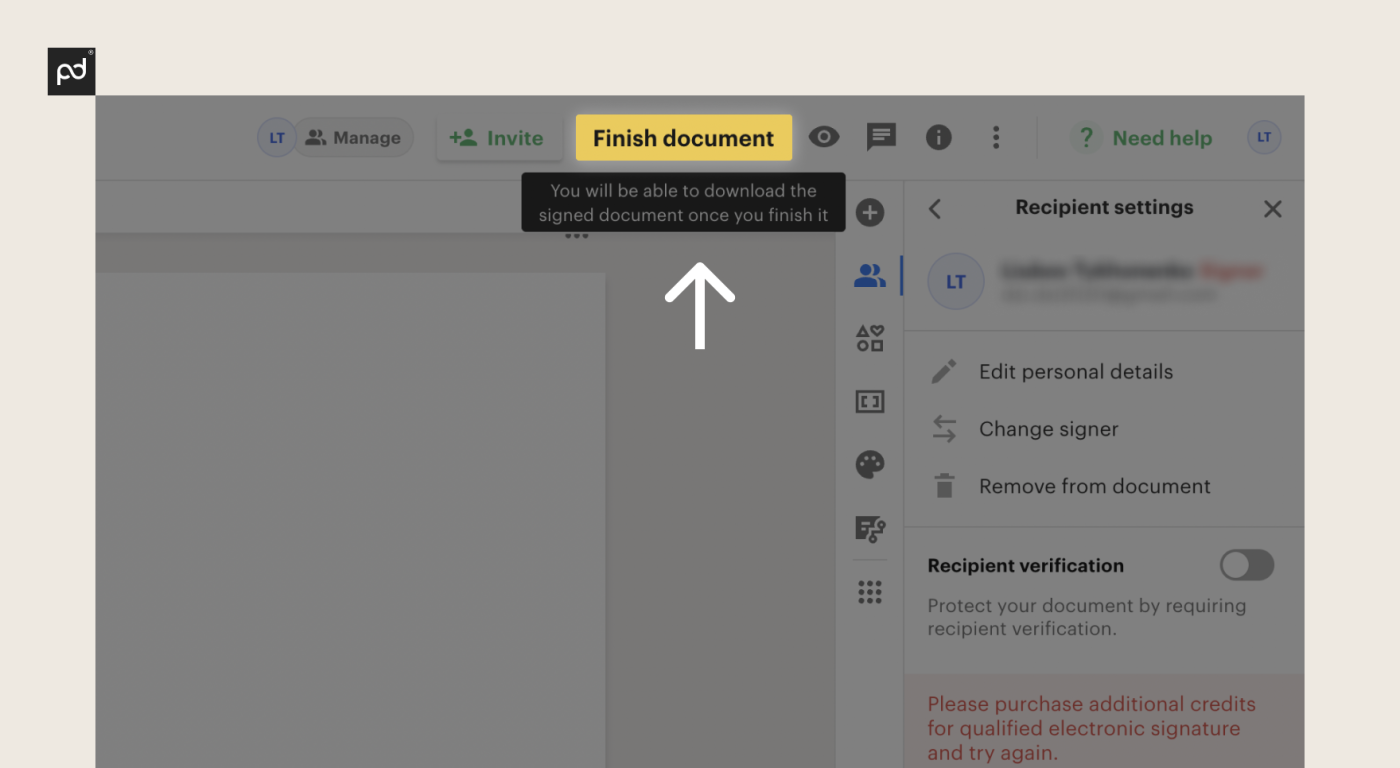
You can either send the e-signed Pages document to the original recipient through the PandaDoc platform itself or download the file in a chosen format (pdf, png, jpg).
Seamlessly e-sign, send and create documents on any device with PandaDoc
Signing your documents should be easy and fast. And with PandaDoc, it is. Our platform streamlines the e-signing process while also acting as a one-stop-shop for all of your document management needs.
You can quickly create your own digital signature, ready to be used in all your documentation — no need to draw it again each time a new doc arrives.
You can also use free templates to help create, approve, send off and manage documents.
PandaDoc allows you to track the activity within the analytics dashboard while you wait for other recipients to e-sign the document or for approval.