How to quickly create a scanned digital signature
One way that you can add a unique and authentic feel to your digital documents is to sign them using your handwritten signature.
Unfortunately, if you’ve ever tried to sign documents using a mouse or a trackpad (or even your finger!), you probably know how frustrating it can be to replicate your true-to-life signature.
In this document, we’ll show you how to create a scanned copy of your signature that you can use to sign all of your electronic documents.
Let’s jump right in.
1. Scan your handwritten signature
There are multiple ways you can go about creating a scanned digital signature, and it doesn’t have to be difficult or time-consuming.
One of the easiest ways to accurately capture your handwritten signature is to write it on a real piece of paper and digitize it using a scanner.
Here’s a closer look at how to do that.
- Write your signature in black ink on a sheet of whitepaper, the black-on-white contrast will help the signature show up during the digitization process.
- Use a scanner to create a high-resolution scan of your signature, if your scanner has the option, set for maximum dots per inch, often abbreviated as DPI.
- In the scanning software, crop the image to remove the excess white space.
- Save the resulting image as a PNG or JPG file.
- Sign documents with this image by uploading them to contracts and placing them on the dotted line (resize to fit as needed.)
The goal of scanning your handwritten signature is to create an image of your signature that you can use to sign PDF contracts and other important documents.
Keep in mind that the upload process to sign PDFs will depend on the signing platform used to finalize your contract.
For example, while you can upload your signature image on a PDF document if it’s sent via email (Microsoft Word documents, PDF files, etc.), if you use PandaDoc to sign contracts, you’d need to upload your signature image through the “Fill & Sign” pop-up window in order to ensure that it ends up on the signature line.
2. Take a picture of your signature
This method is slightly different from the first method because it relies on newer technology to create and customize your image file.
You’ll still sign a paper document, but the import process requires some photo editing software and basic familiarity with different file formats.
Here’s a closer look:
- Write your signature in black ink on a sheet of white paper (the black-on-white contrast will help the signature show up during the digitization process).
- Take a picture of your signature using a smartphone, high-resolution camera, or similar digital device (using an editing tool like the Photos app (iOS) or Google Photos (Android), crop the image to remove any excess white space).
- Save the resulting image as a PNG or JPG file using the Save or Save As feature in your editing tool.
- Sign documents with this image by uploading them to contracts and placing them on the dotted line. (Resize to fit as needed.)
As before, attaching this signature file to your Microsoft Office documents is as simple as dragging and dropping the image file into the document that you intend to sign.
For dedicated signing platforms, you’ll need to upload your signature file to the dedicated signature field, but you’ll still be able to use it when you sign.
3. Sign using a tablet and stylus
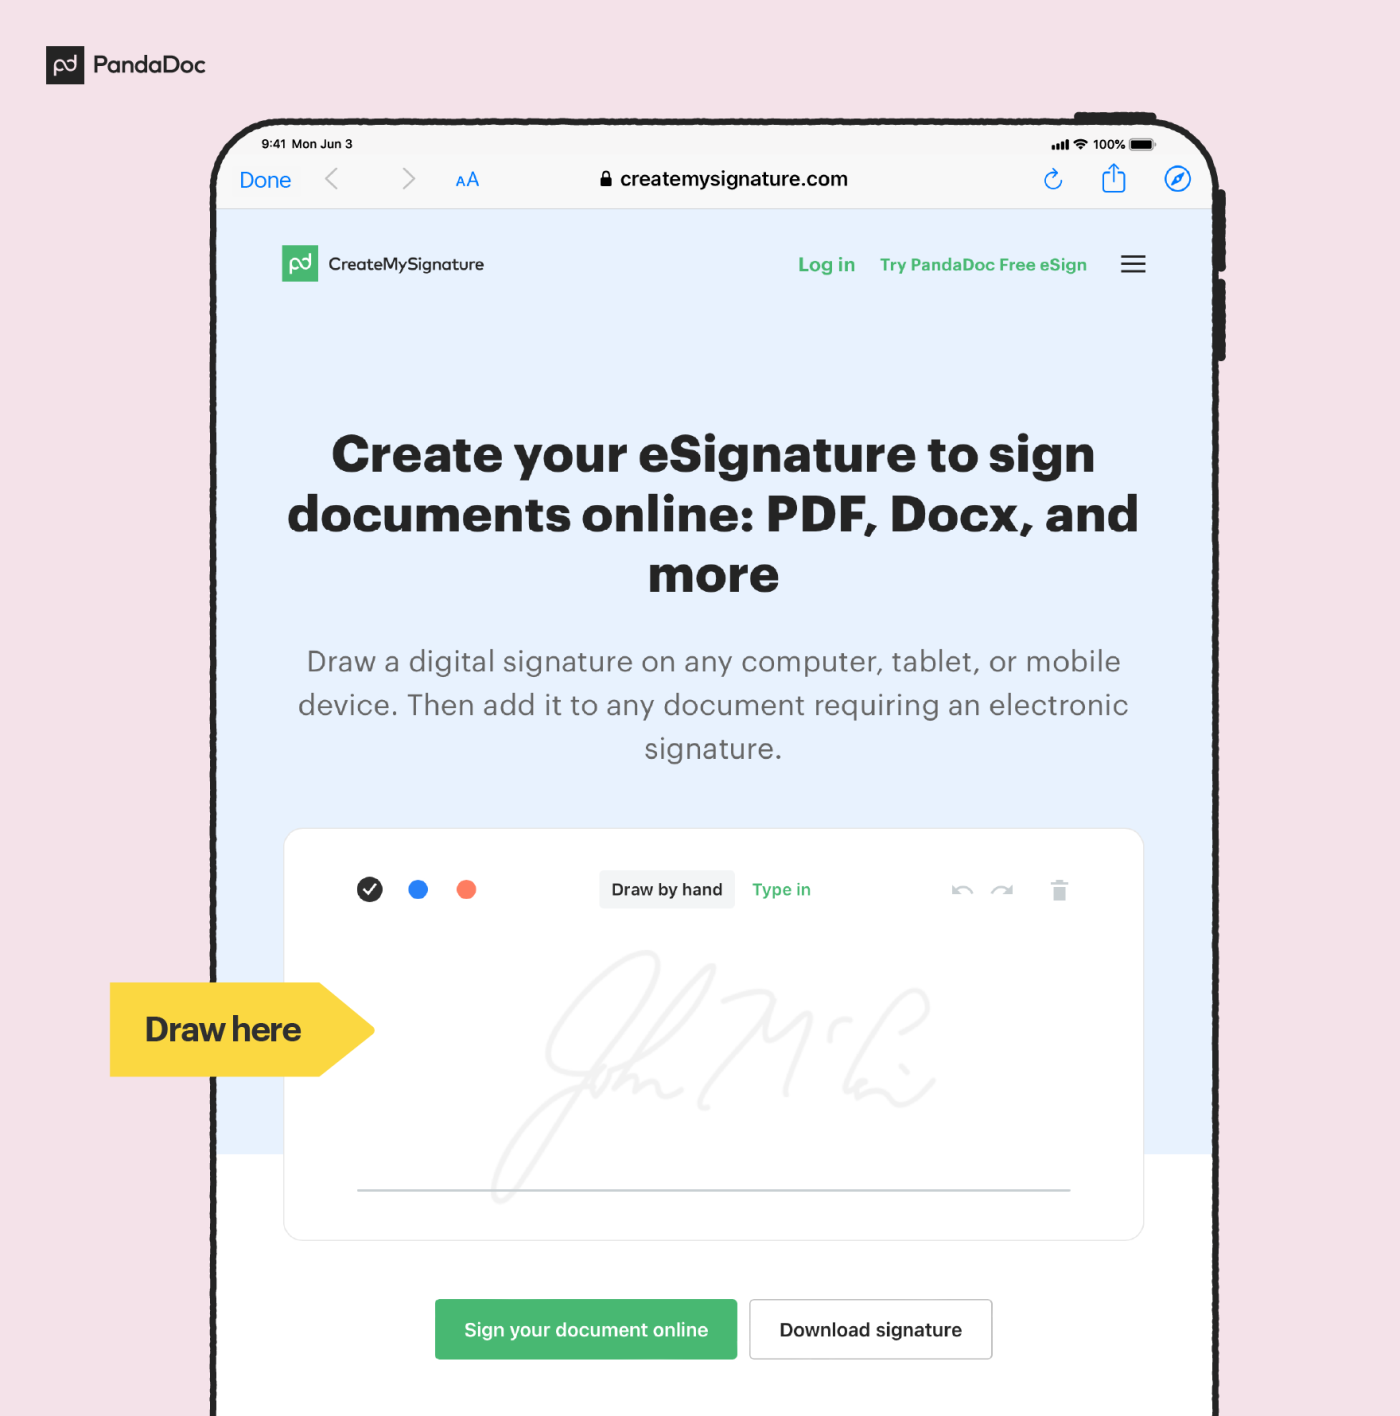
While not exactly a scanned signature, you can also create an authentic image of your handwritten signature using online signing tools, provided that you have a smartphone, iPad, or Android tablet and a compatible stylus.
While this requires the largest amount of technology, it’s the most straightforward way to create a digital version of your signature for use when signing electronic documents.
Here’s what you’ll need to do:
1. Go to a signature capture platform like CreateMySignature.com.
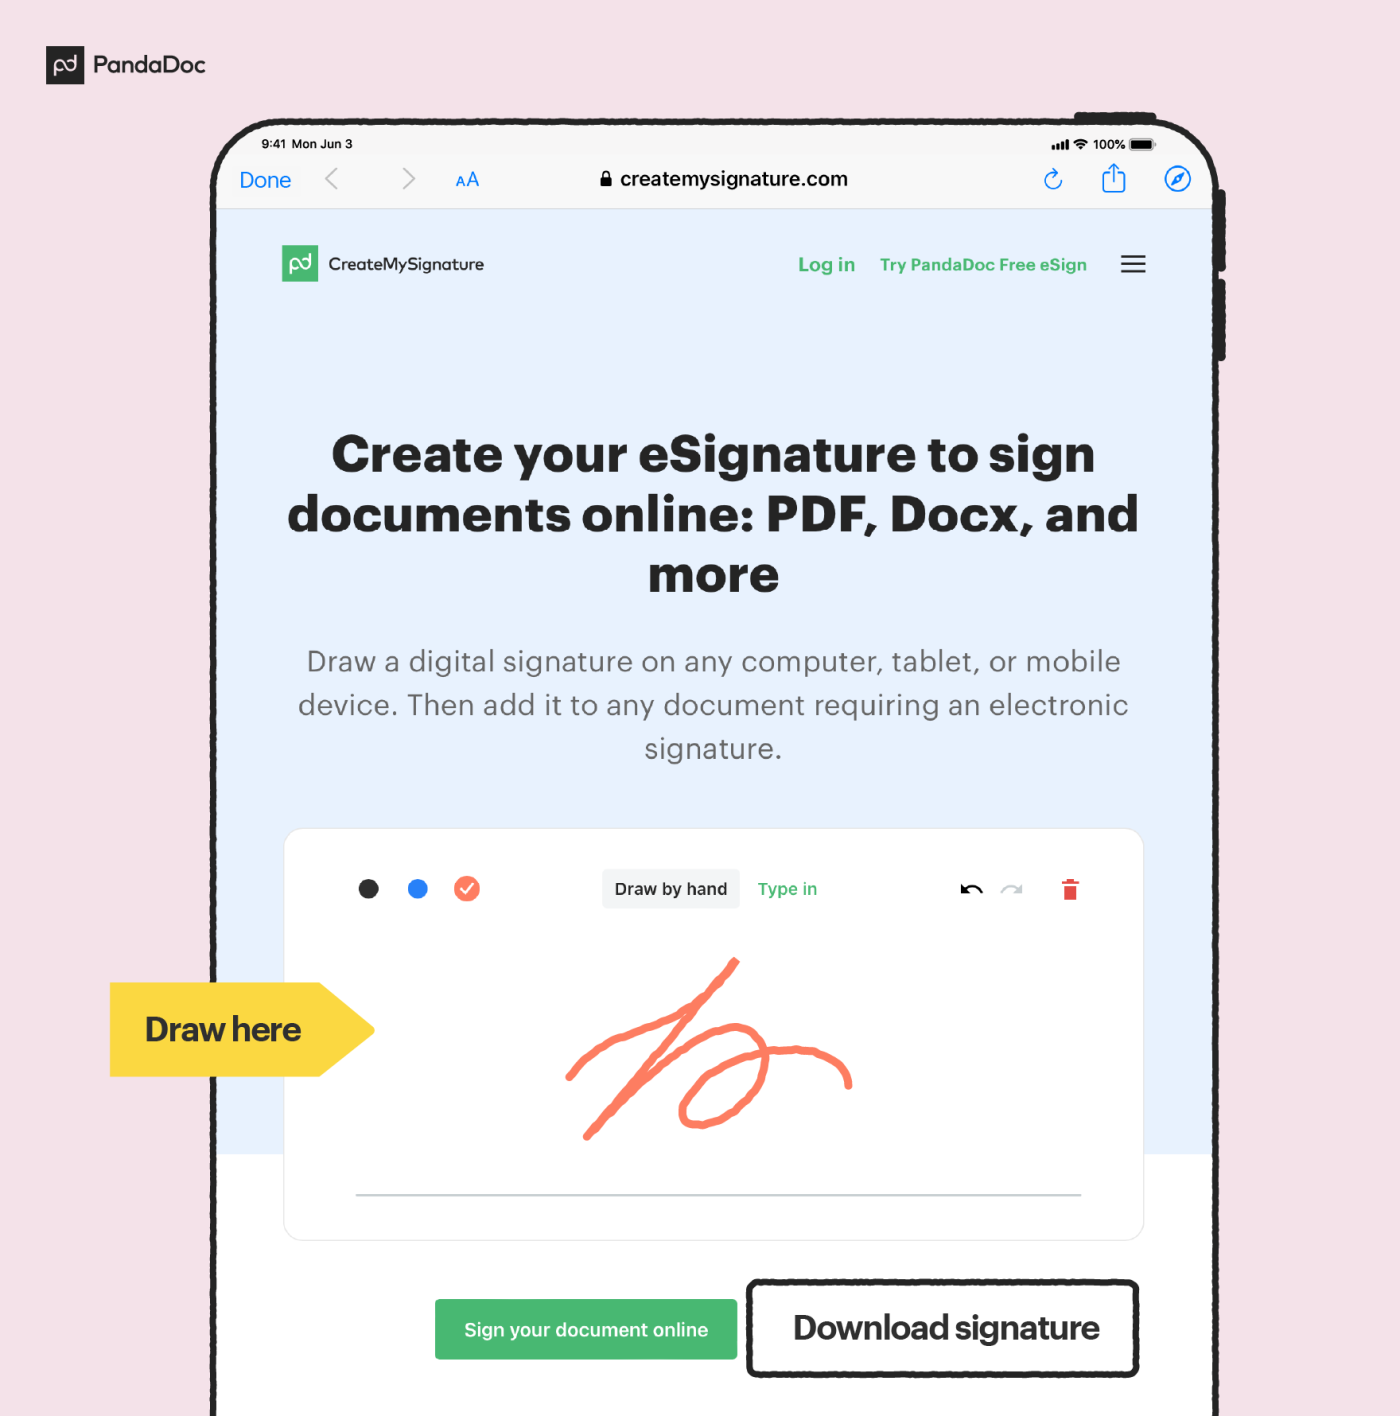
2. In the signature window on the home page, sign using your stylus.

3. Click or tap the Download signature button to download the image file to your device.

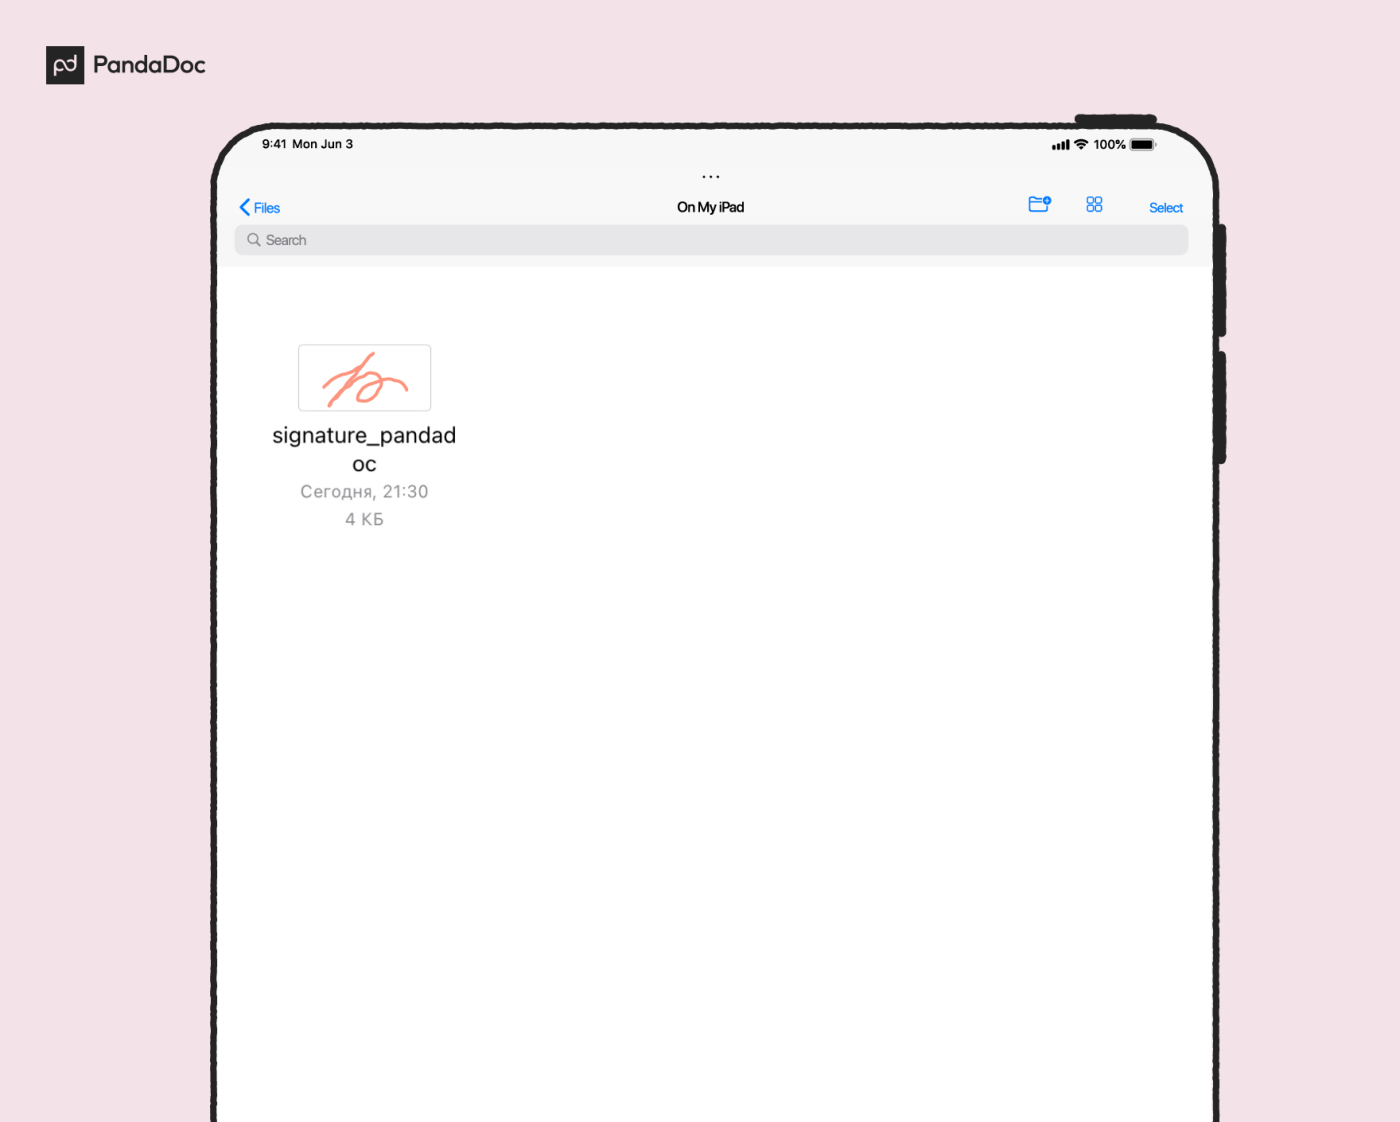
4. Find the PNG file that you downloaded to your device.

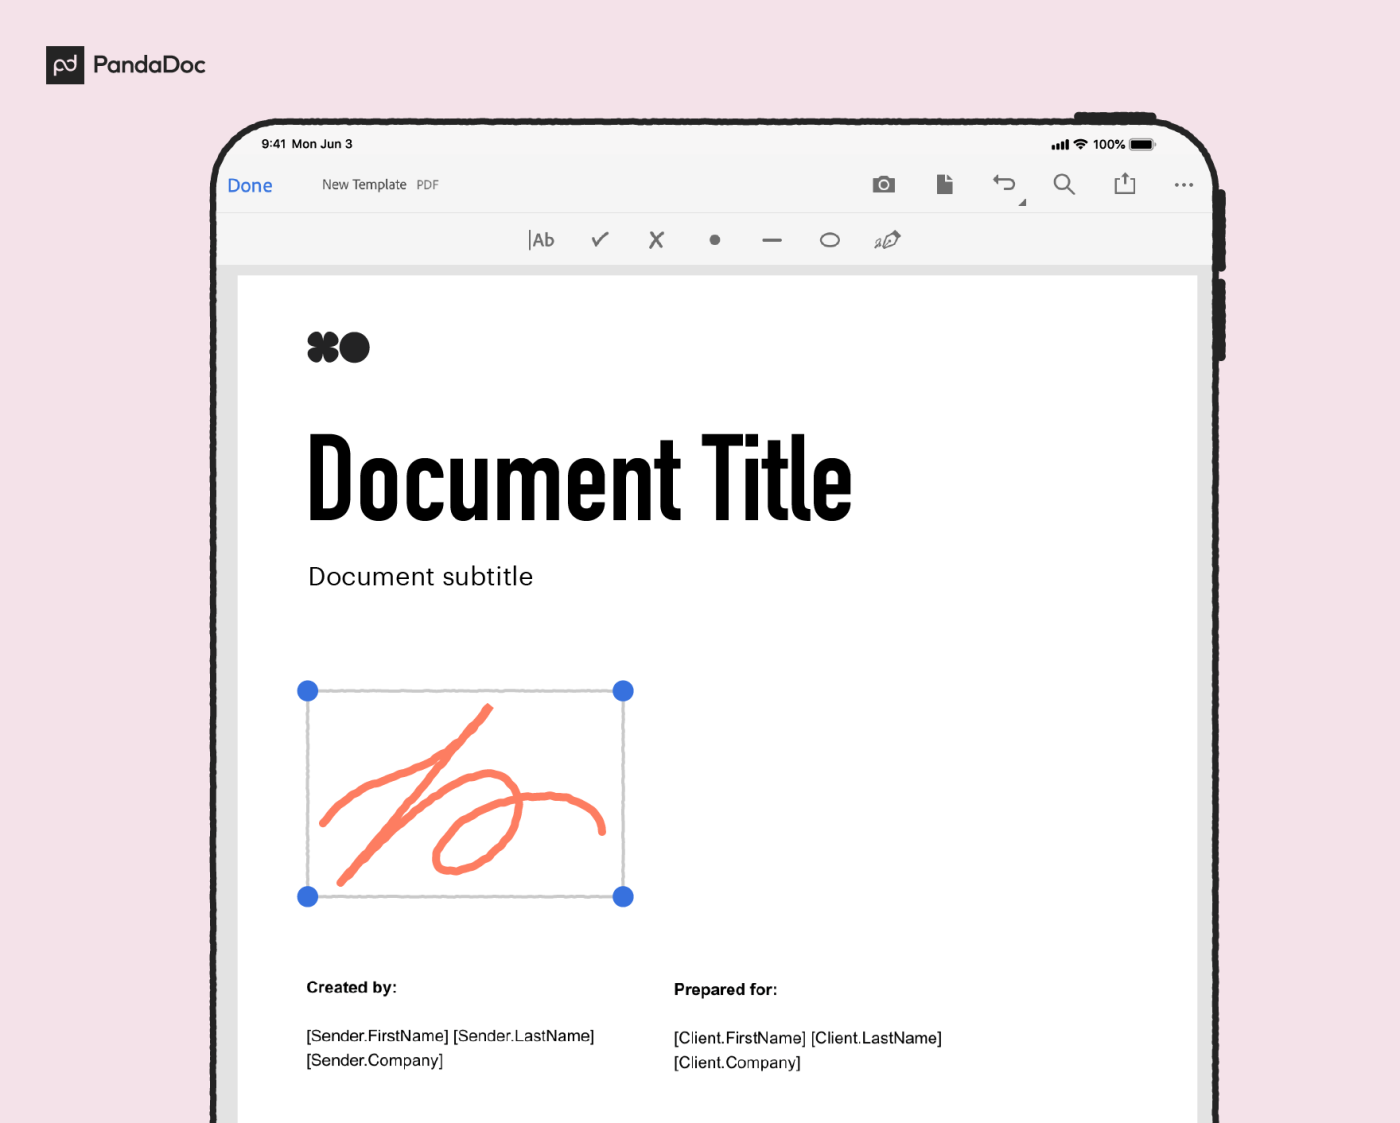
5. Sign documents with this image by uploading them to contracts and placing them on the dotted line (resize to fit as needed.

In our example, we’ve used CreateMySignature, which is designed for fast and easy signature capture. However, there are other websites that do this as well.
One final thing to consider when signing with a stylus is that many e-signing platforms, including PandaDoc, Docusign, Adobe Acrobat, and others will allow signers to draw their signature when it’s time to sign.
The advantage of following the above-listed method is that you’ll be able to download an image file that you can reuse for documents, regardless of the platform where a document needs to be signed.
Frequently asked questions
Is a scan of my signature a valid way to sign a document?
Yes. The Federal ESIGN Act of 2000 classifies electronic signatures as:
“An electronic sound, symbol, or process, attached to or logically associated with a contract or other record and executed or adopted by a person with the intent to sign the record.”
An image of your signature, when attached by you as a representation of your intent to sign, counts as an electronic signature and makes signed documents legally binding.
However, in a world of electronic documents, forging a signature is as easy as taking a screenshot of your signature and transferring it to another document or making changes to a document after it has been signed.
That’s why it’s important to use an e-signature software tool to transform your handwriting into a digital signature.
PandaDoc and other e-signing platforms have built-in anti-fraud technology to prevent tampering. They also use audit trails to record changes and alterations to any document that you’ve signed.
PNG vs JPG vs GIF: What’s the real difference?
When possible, you’ll want to save your signature as a PNG file, rather than a GIF or a JPG. While a JPG format can be used as an alternative, GIF formats are typically used for videos rather than still images.
PNG is the best format for digital signatures because it automatically places your signature file onto a transparent background so that your signature blends seamlessly with any document.
What tools should I use to create my scanned signature?
You should be able to create a scanned signature using most modern technology.
Scanners themselves are often found as part of an all-in-one printer (print, scan, and fax units).
You can also use the camera on the back of a smartphone to take a high-resolution picture of your handwriting. If you have a Mac, you can also capture a scan of your signature using the built-in camera.
Your mileage may vary slightly, depending on your tech setup, but importing an image of your handwriting to use for signed documents is easier now than ever before.
The bottom line on scanned signatures
It’s important to understand that creating a scanned digital signature is only one part of the document signing process.
You also need to make sure that you’re using the right electronic signature software.
With the right software, you can create new contracts and proposals in minutes and eliminate bottlenecks in the approval process.
Plus, you’ll know your contracts and signatures are secure and safe from fraud.
If you’re still looking for the right software for your business, why not try the PandaDoc Free eSign plan?
This plan is always free to use and provides unlimited, legally-binding eSignatures for you and your entire team. You can create your free plan and get started right away.

